Over the last year or so, I’ve begun tinkering with sharing YouTube videos. I don’t fancy myself a YouTuber by any means but I have found that it’s an easier medium for me to share information than doing presentations. My introverted, anxious self loathes presentations but I find myself really getting into a flow state with YouTube videos.
My setup is very low maintenance: I use zoom to record, airpods for audio, Google Slides designed by a colleague, iMovie to edit, and either use my own photos/a free library/take screenshots. Over time, I’ve been trying small ways to level up without adding any cost — I’m a massive minimalist after all and the same is true with budding software expenses. Here are some examples:
- Spending more time editing (removing breathing sounds, “ums”, etc). This isn’t perfect nor do I want it to be since the videos should be down to earth.
- Spending more time on demo content to ensure what I’m demo-ing is more refined and smooth.
- Doing more research around what’s to come. I hate how videos are just a snapshot in time so I try to get around this by always including a section on what’s next.
- Adding intros when it makes sense, like when I add in hallway hangouts.
- Including more links/resources into the descriptions so folks don’t have to watch to know what’s up.
- Ensuring there are chapters in place (even for hallway hangouts aka open ended convos) and subtitles (I don’t do this for the hallway hangouts).
- Adding duotone filters to my images to match my slides.
This last one has been a visual game changer and the entire point of writing this post! Here are some stills from my latest video showing before/after so you can get a sense of just how dramatic of a difference this is:


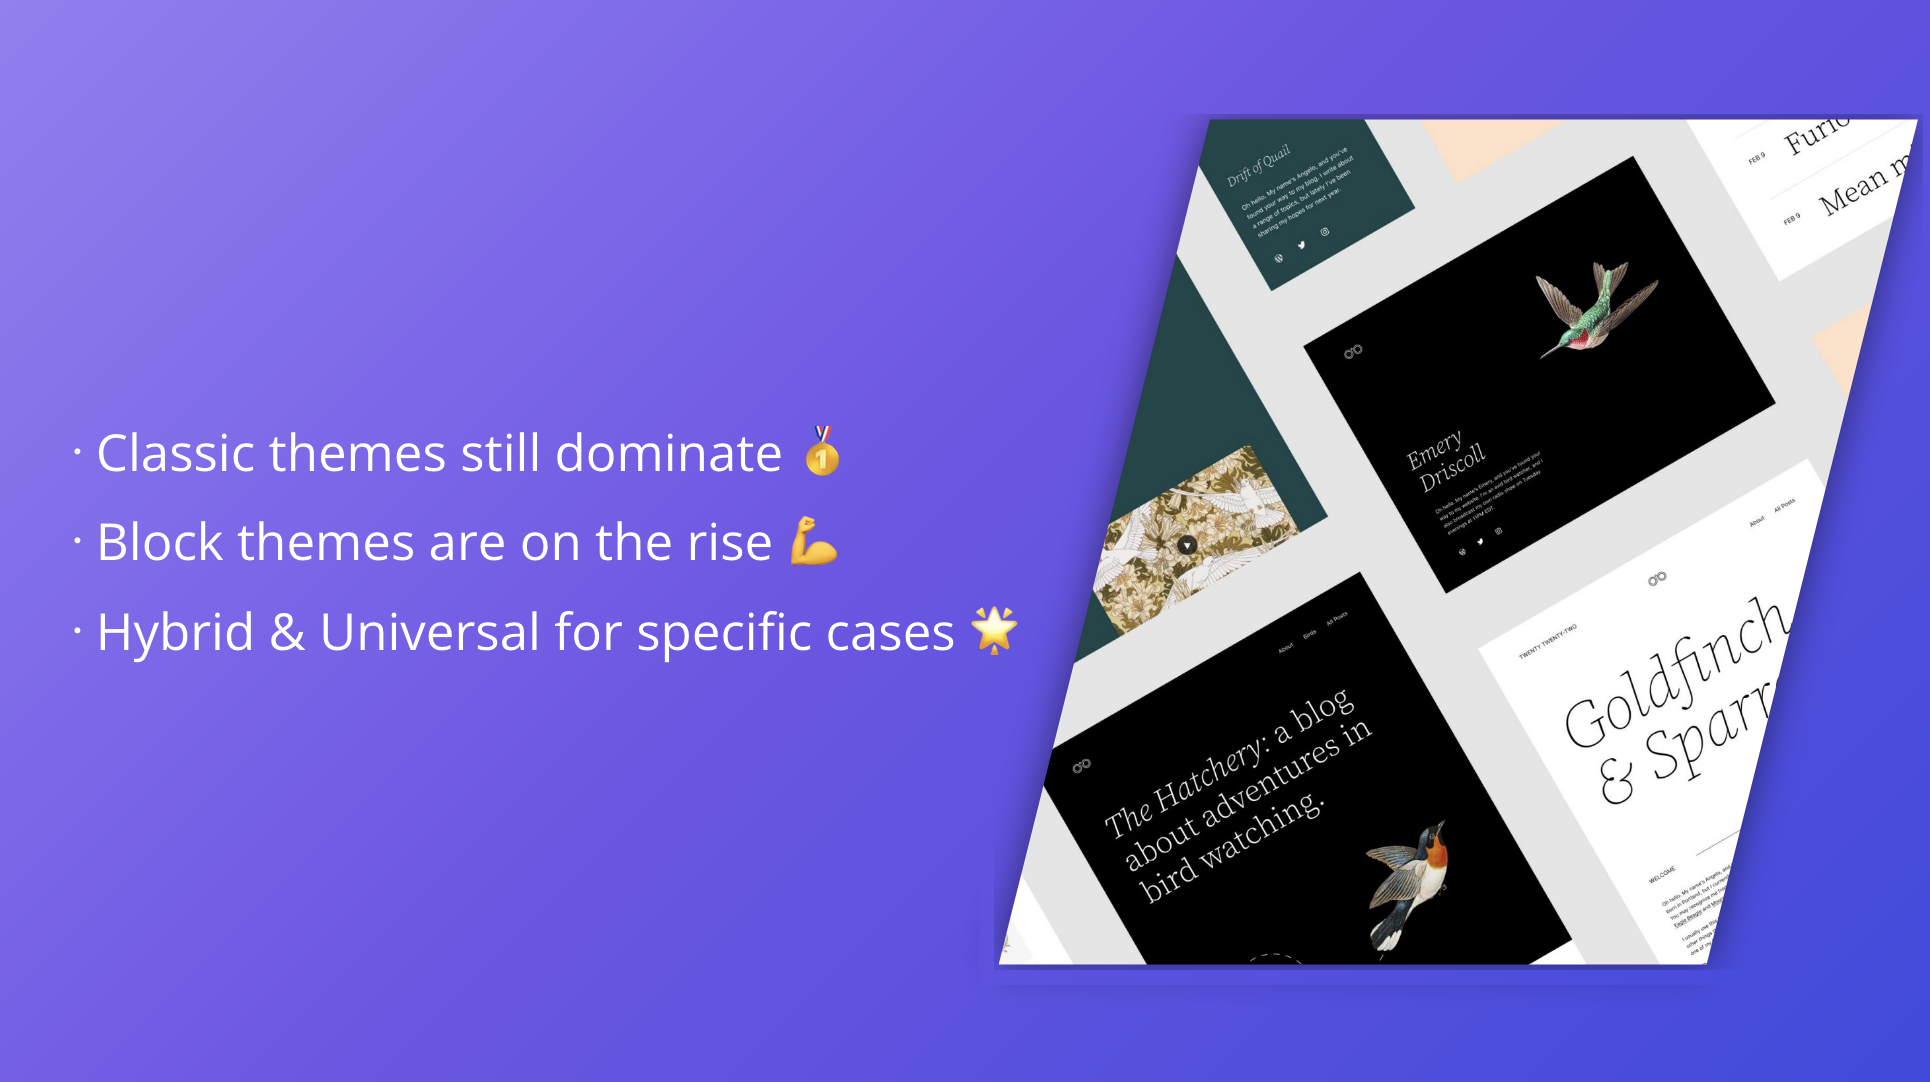
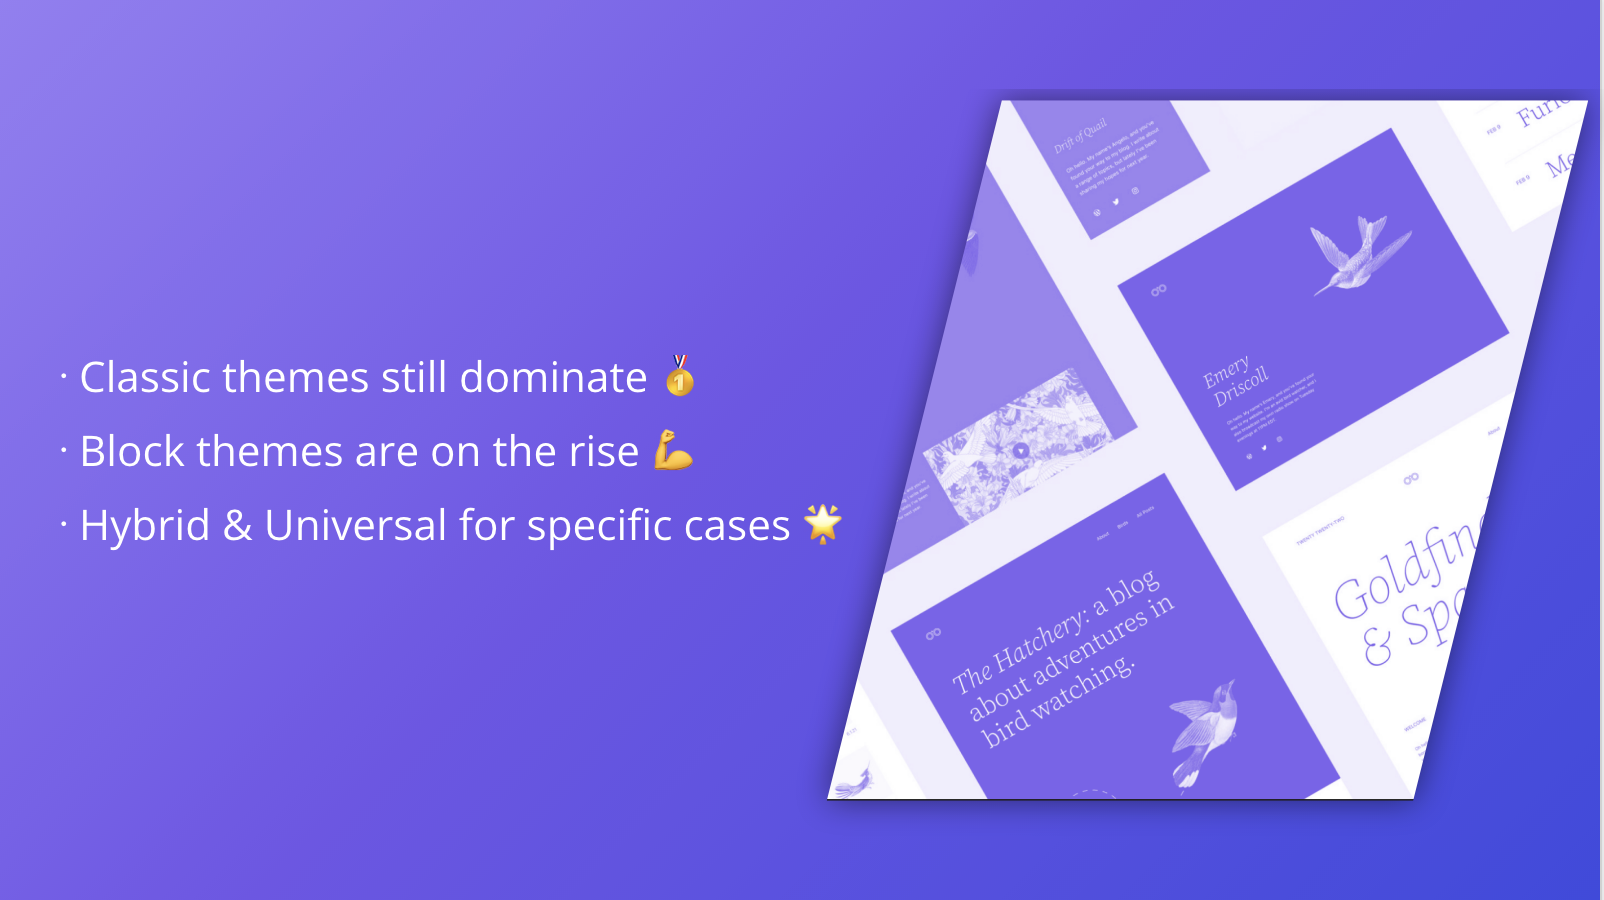
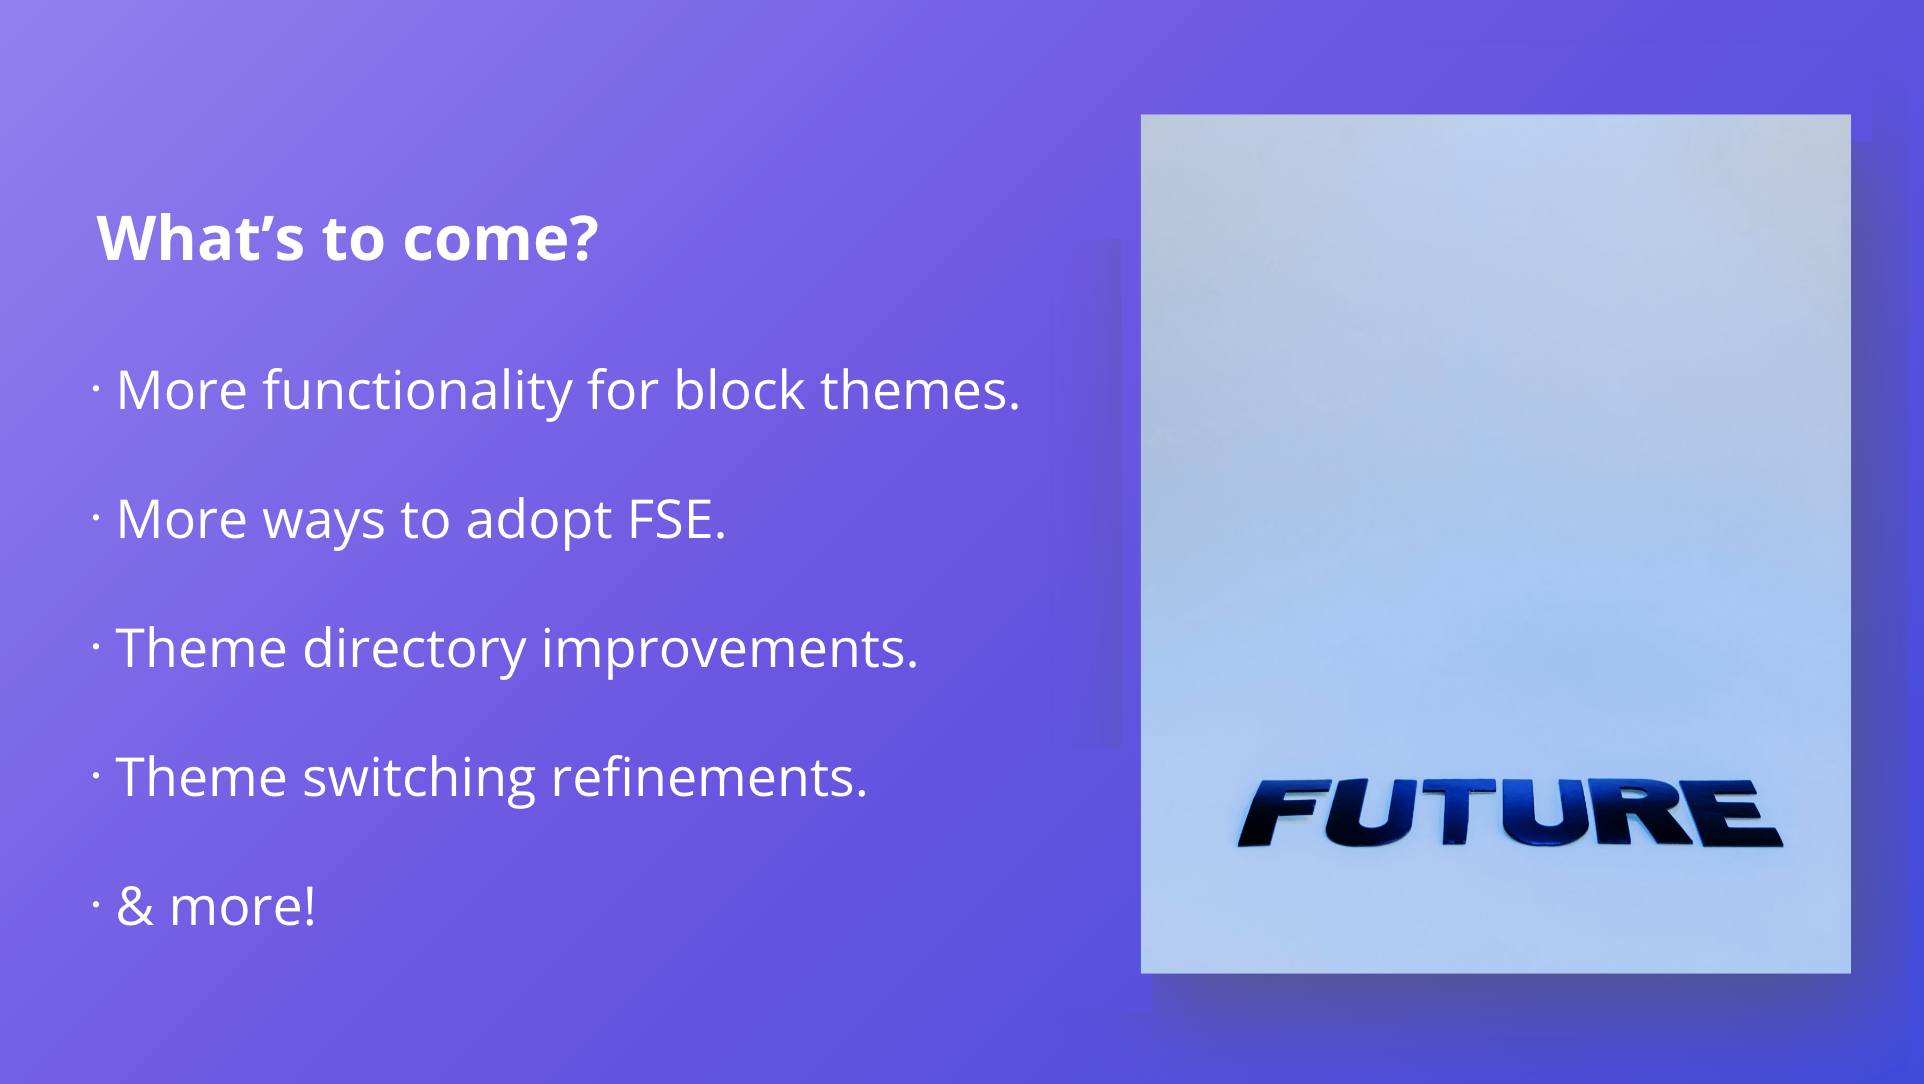
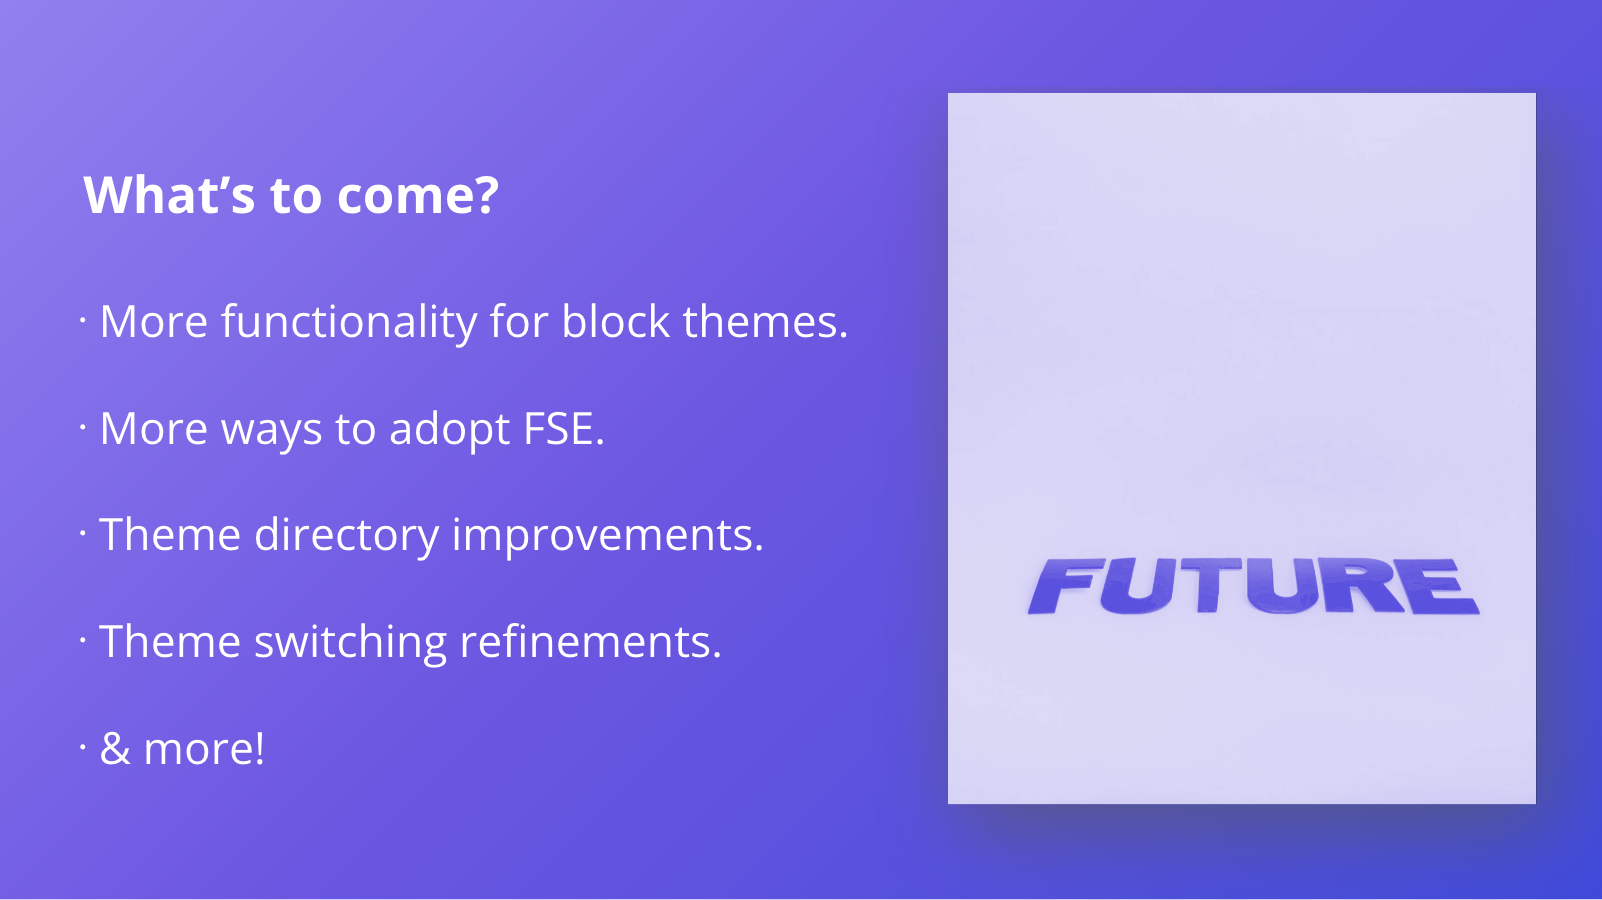
To be able to use WordPress’ own tools to edit images to my liking for another piece of software has been delightful to say the least. Similar to my recent effort driving the Museum of Block Art, it really shows how far this tooling has come and how much is currently possible. It also just looks SO much better and makes me feel better in turn about what I’m putting out in the world.
If you’re looking to do the same for a future presentation, here’s a quick and silent video of me walking through how I accomplished this, including adding in a custom color using Styles for a very easy future workflow. Note that I used a color picker browser extension to get the color right:
Can’t wait to both make more videos about these tools and to use them to do so.

Leave a comment