It’s been nearly a year since the launch of the Block Museum, a virtual art exhibit of art pieces made with different versions of WordPress. In that time span, three WordPress releases have come out with ever greater tools for creativity. Meanwhile, the Block Museum opened to submissions, introduced an interactive exhibit, and a few pieces were featured subtly in the State of the Word (circular rainbow and splitting) pictured below:
While anyone can view how each piece is made code wise, I thought it would be fun to pull the curtain back a bit more on this favorite side project of mine in hopes that it might inspire others to get involved since this is ultimately made by the community for the community (I also hope anyone who stumbles across it can enjoy the creations).
In terms of tooling, here are the blocks I recommend exploring:
- Cover
- Gallery
- Image
- Group
- Heading
Within those blocks, the following tools unlock loads:
- Granular border control (can control all sides individually).
- Granular radius control (can control all sides individually).
- Margin.
- Padding.
- Block spacing.
- Letter spacing.
- Appearance (for typography).
- Color controls, including gradients, overlay, transparency options, duotone, etc.
Outside of just what’s in the editor, it also pays off to find beautiful images or illustrations to use from places like the WordPress photo directory or rawpixel. You can easily go a step further and use tools online to split images in pieces to get really creative when using something like the Gallery block.
To get a sense of what this creation process can look like and what’s possible, let’s run through two recent examples in my efforts to create some pieces with WordPress 6.1. I’m going to go into borderline excruciating detail just so you can get a sense of the different tools and the thought process.
Behind the scenes of creating the piece, “Relentless”
Because I’m so close to the WordPress releases having been on the last few release squads, I knew that the Gallery block had been revamped to allow for control of each individual image in the gallery. I also knew more controls have been brought to the experience so I quickly set my sights on imagining what could be done if I divided an image in parts, put those parts in a gallery block, and went wild.
To start, I found an image of my own to use that I actually recently had made into a beautiful metal print:
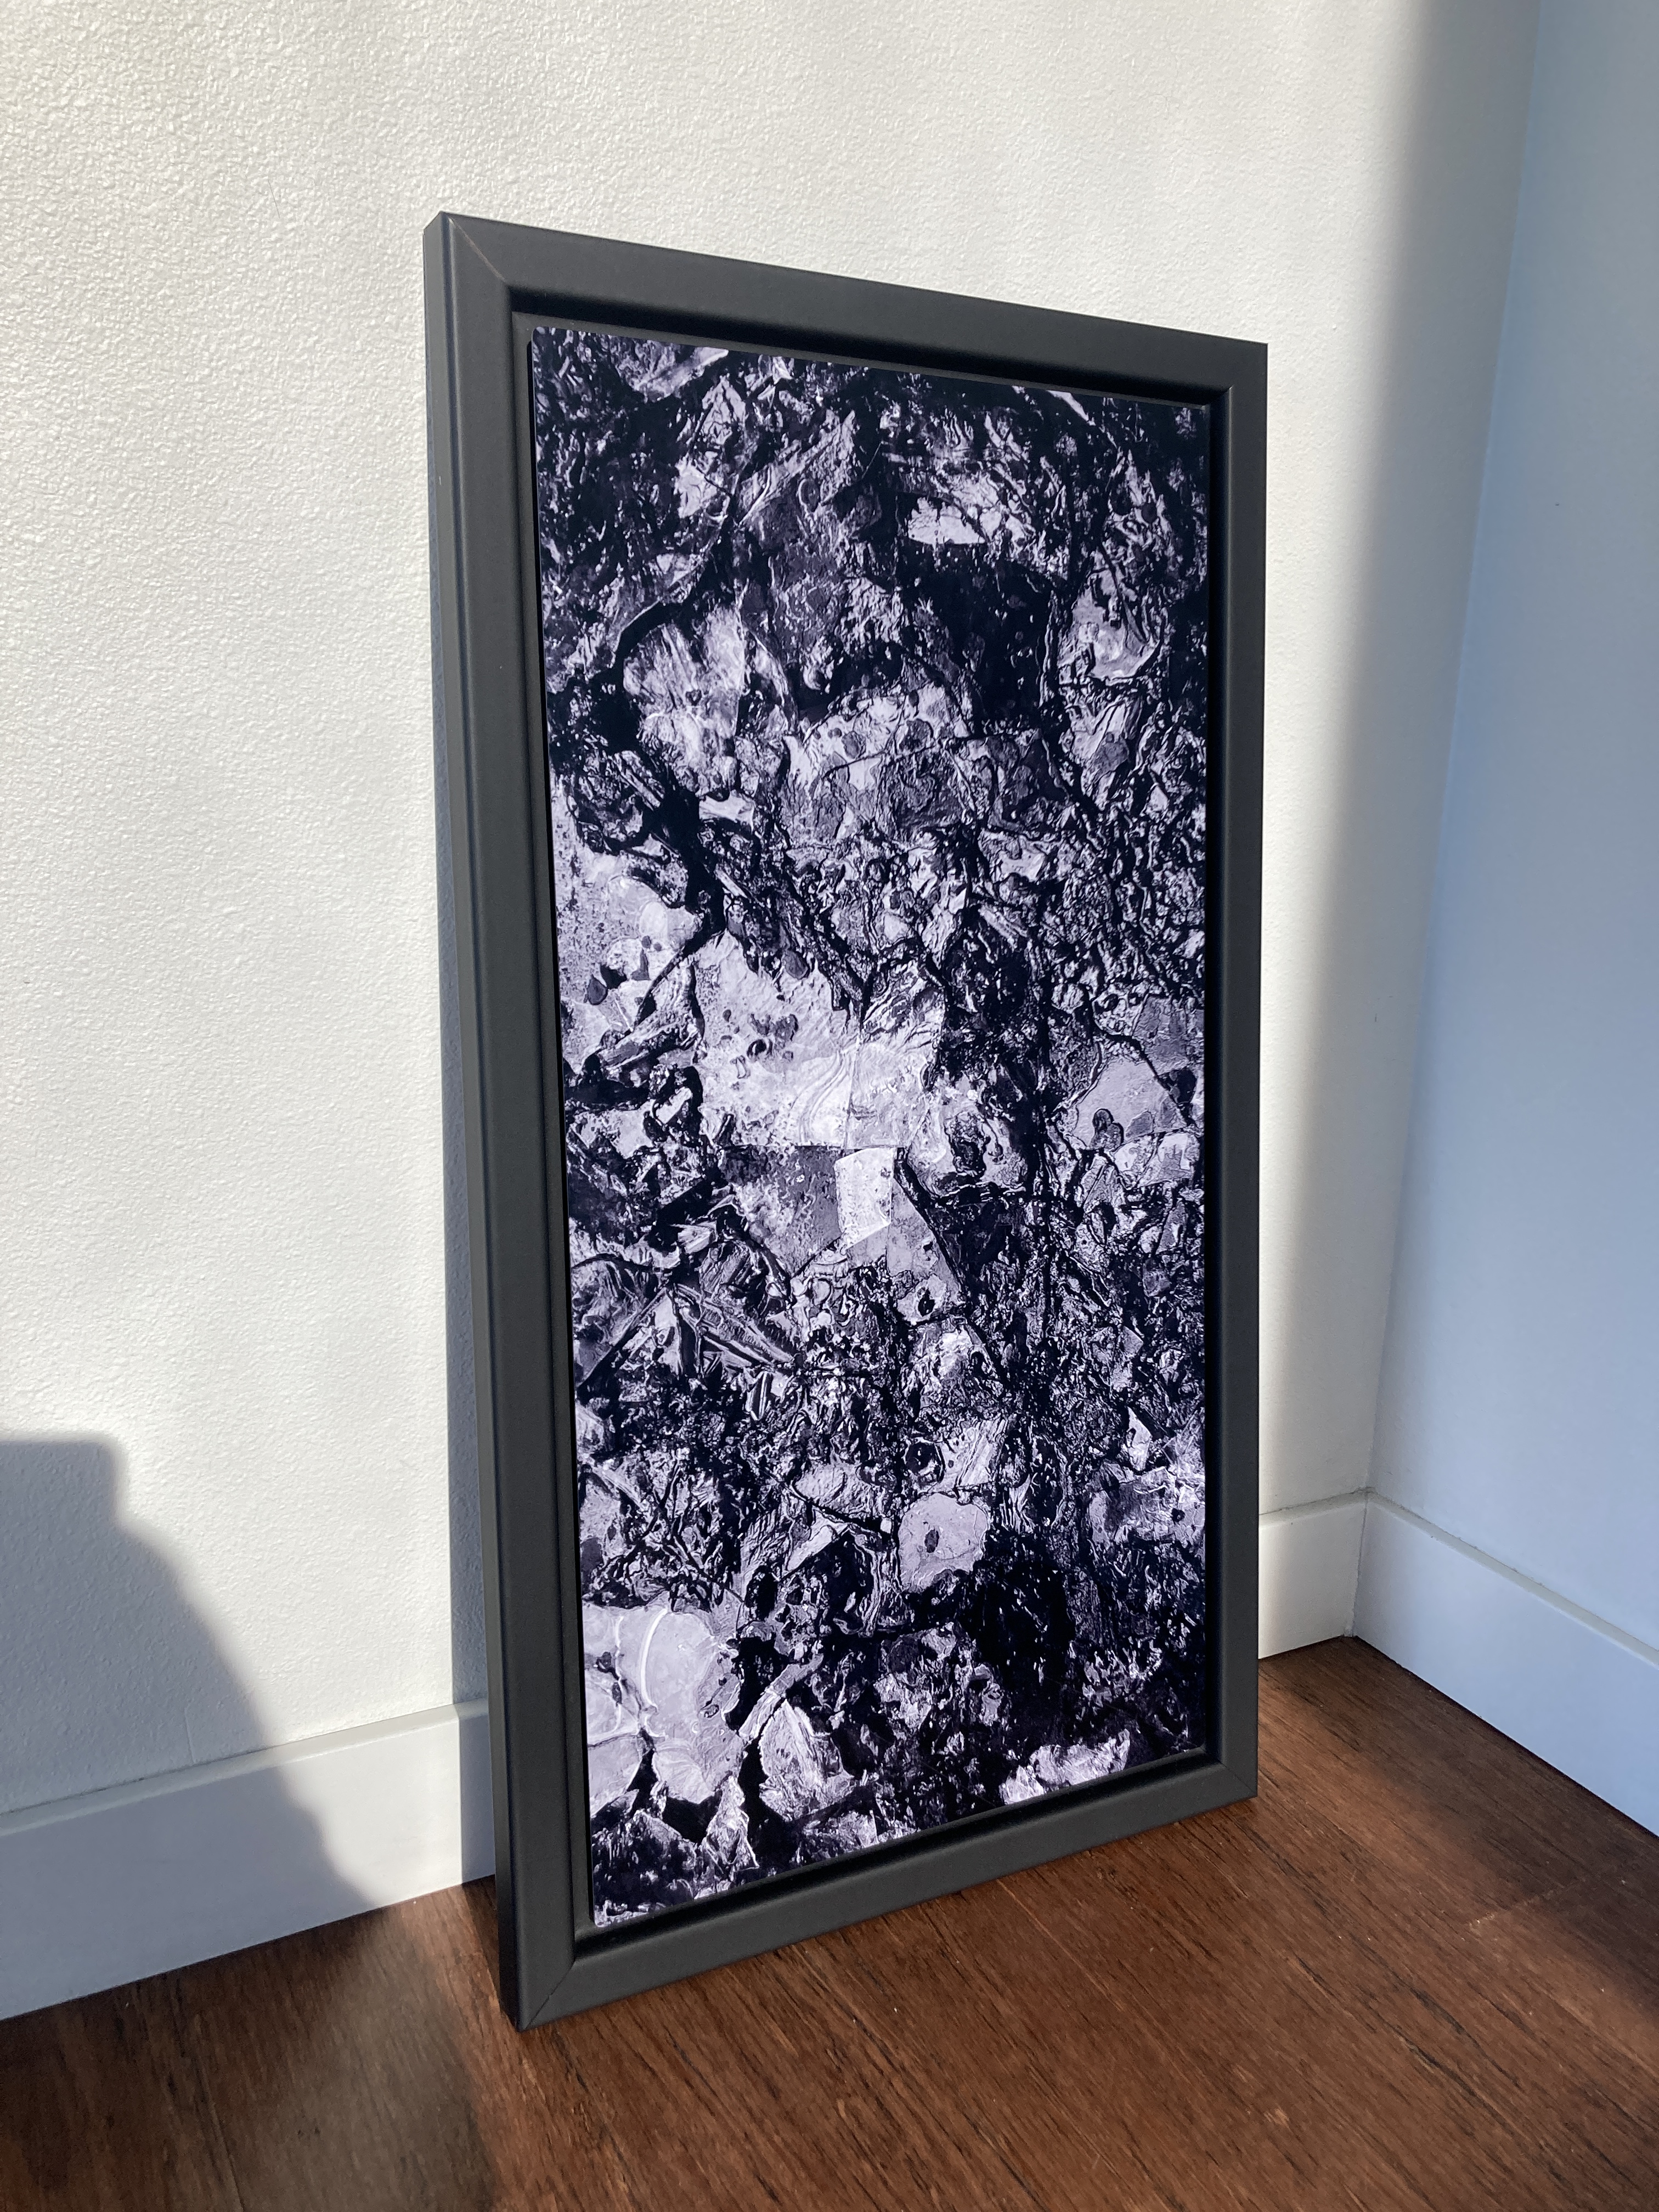
I wanted to use something that would create a chaotic coming together as I planned to distort it quite a bit. This did the trick as no square ended up looking the same. At first, I tried to manually divide up the images into different sizes and play around with changing block styles, borders, and duotone filters:
Here’s a sped up video of what this creation process looks like:
This felt… fine but more like a warm up. I looked up a tool online to divide the image properly, first 2 x 2. I then just started to play with various options, like the one you see below where I’m just using default duotone filters to divide the image in two bright colors:
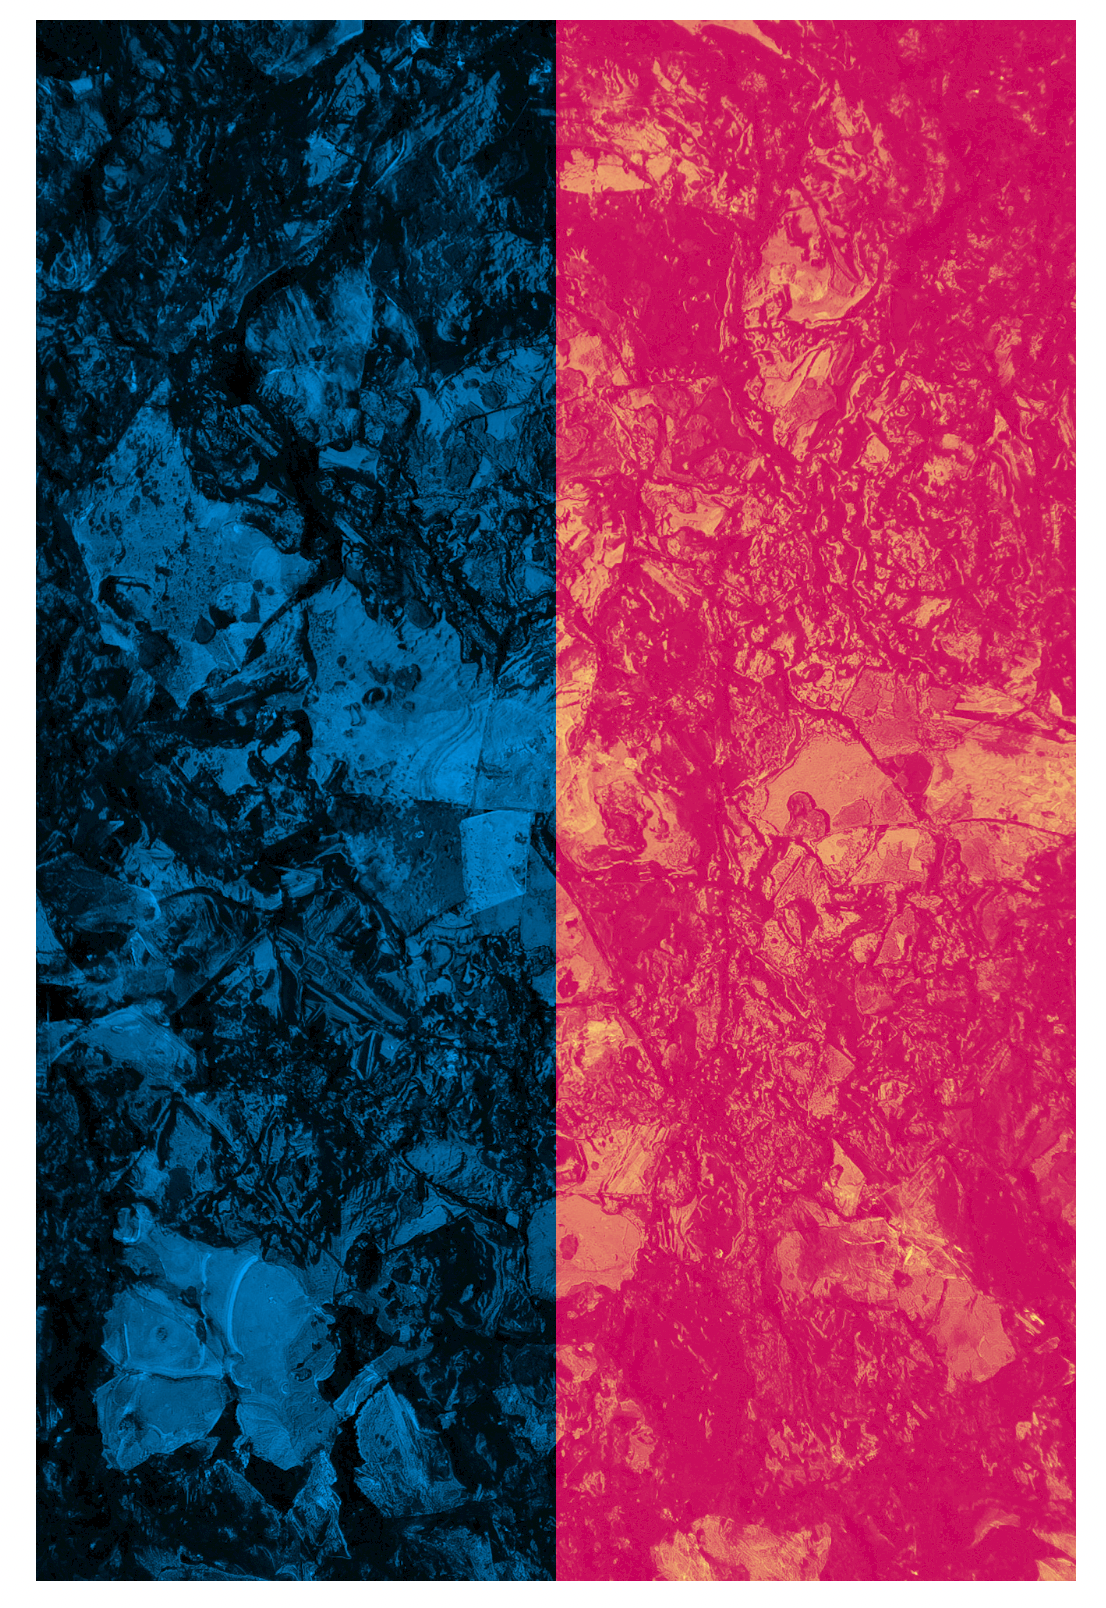
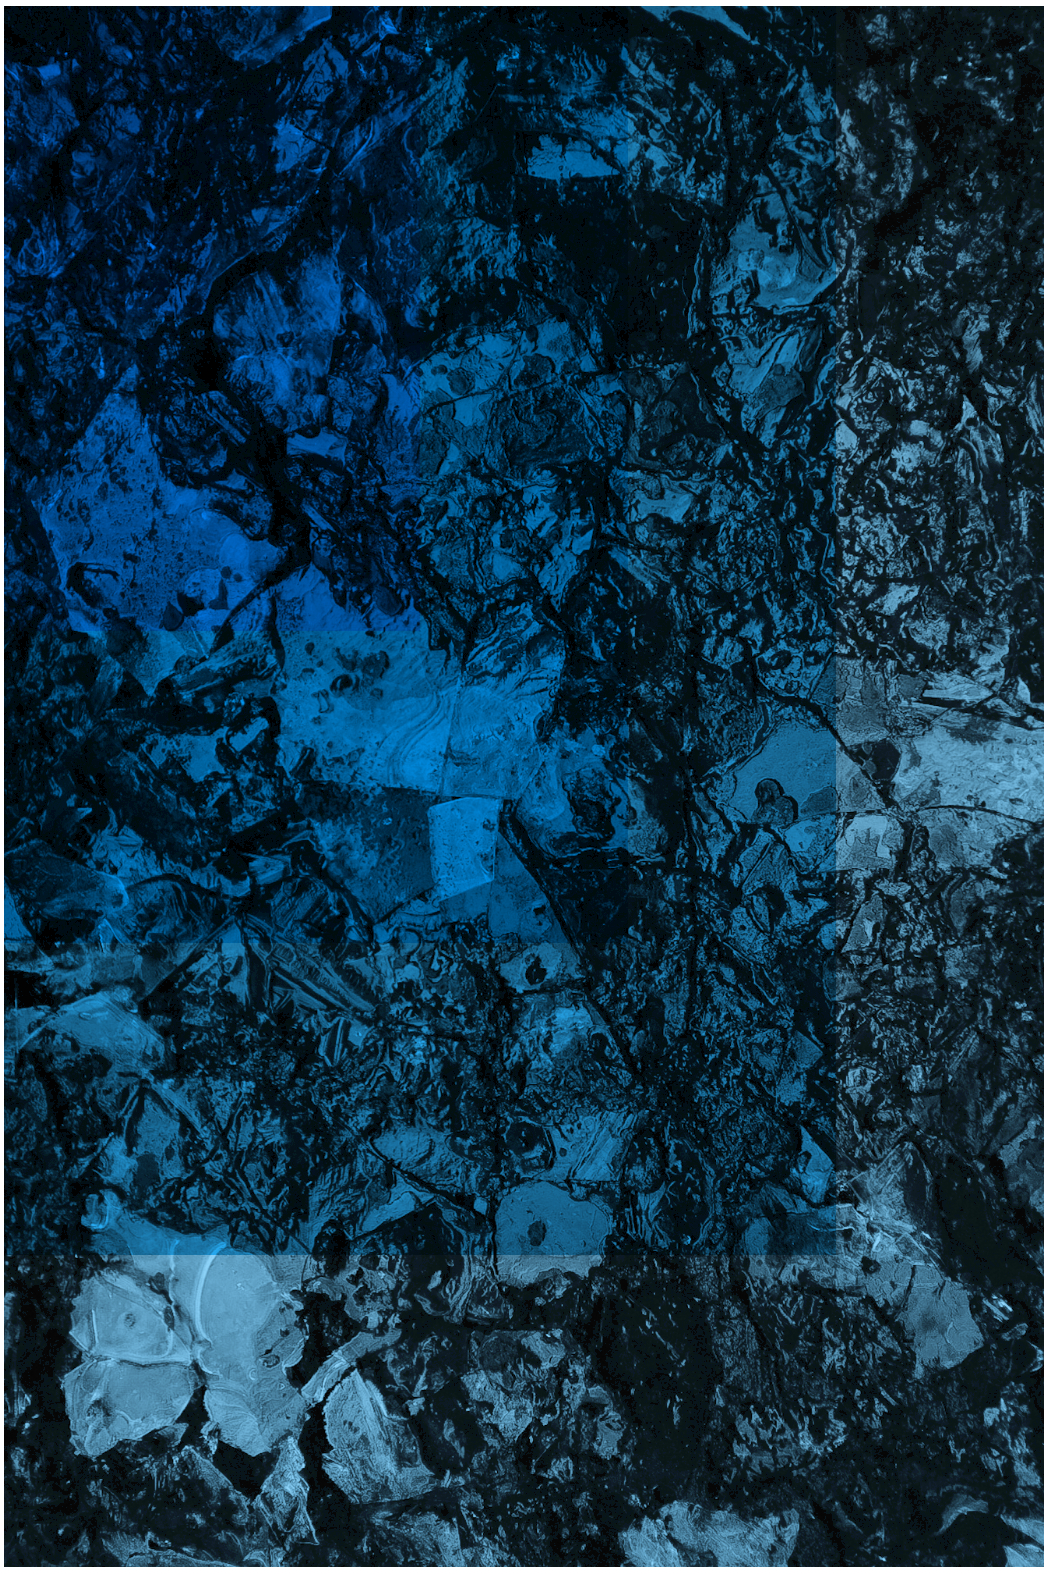
Something about the blue duotone stuck with me and I had it in my head at this point that it would be neat to use the same duotone option but have it slowly fade into different shades where you might still be able to see the whole of the image. This led to the following attempt:
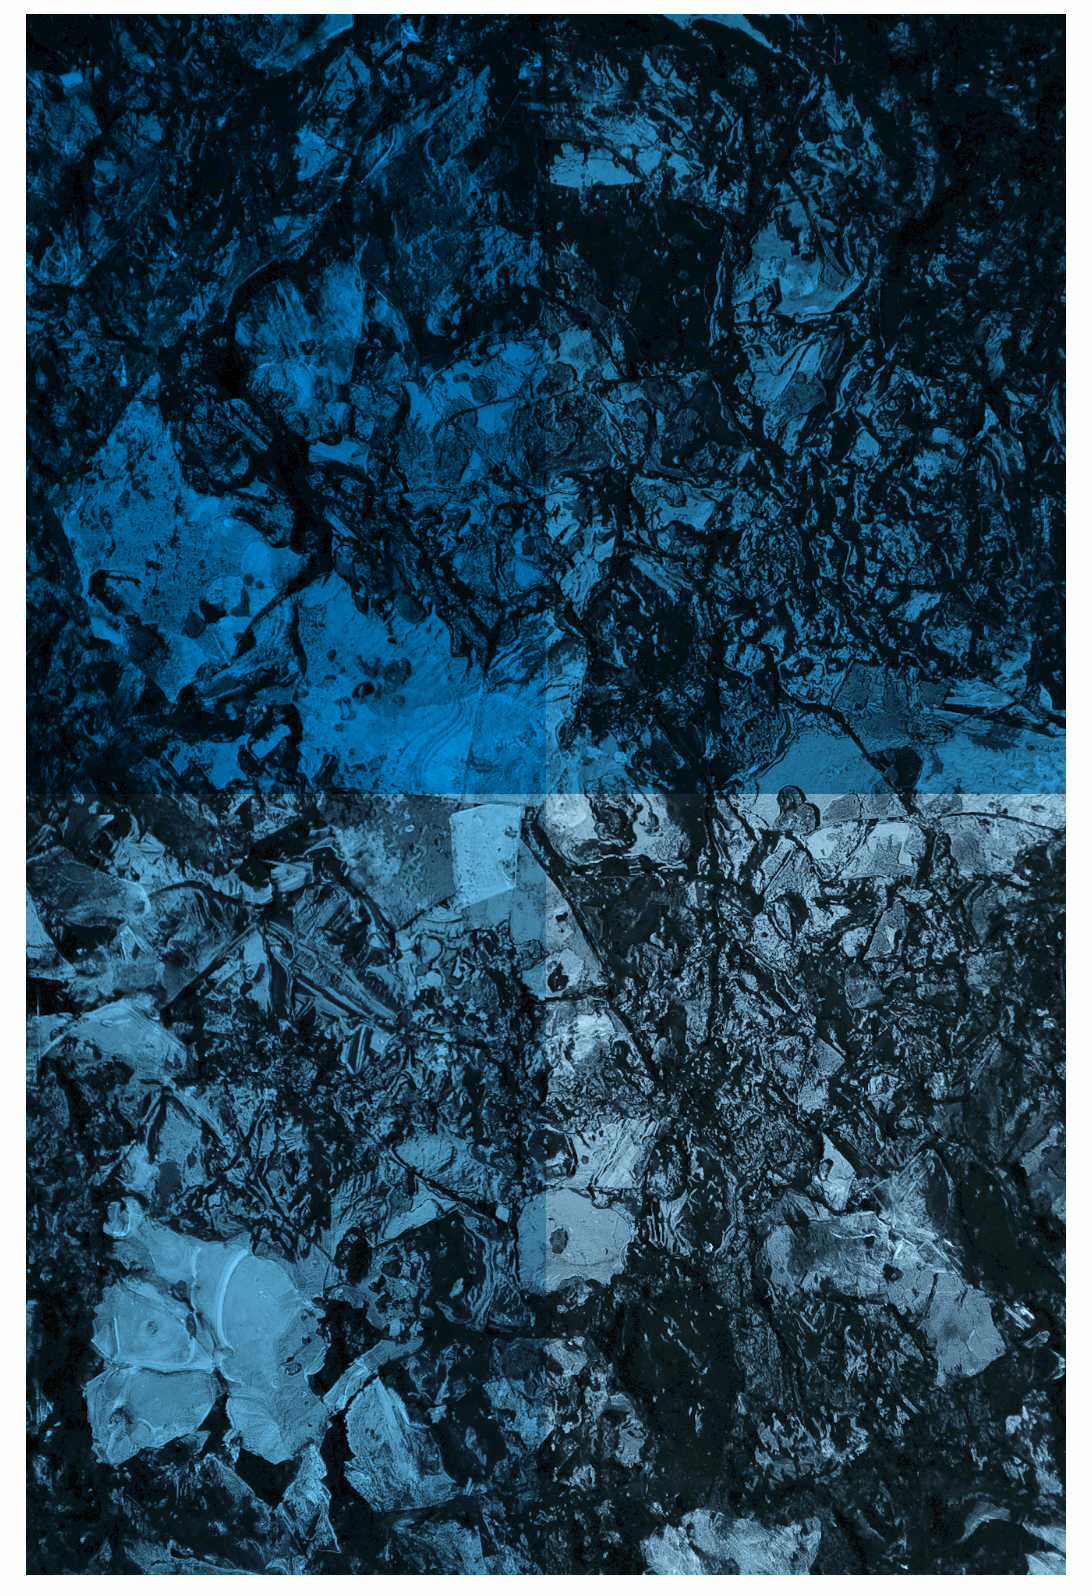
This was again very simple — I changed around the block spacing, adding a default duotone filter, and then just watered it down in each additional square of the image. There’s obviously a lot of messing around in between this but here’s a video showing the streamlined process:
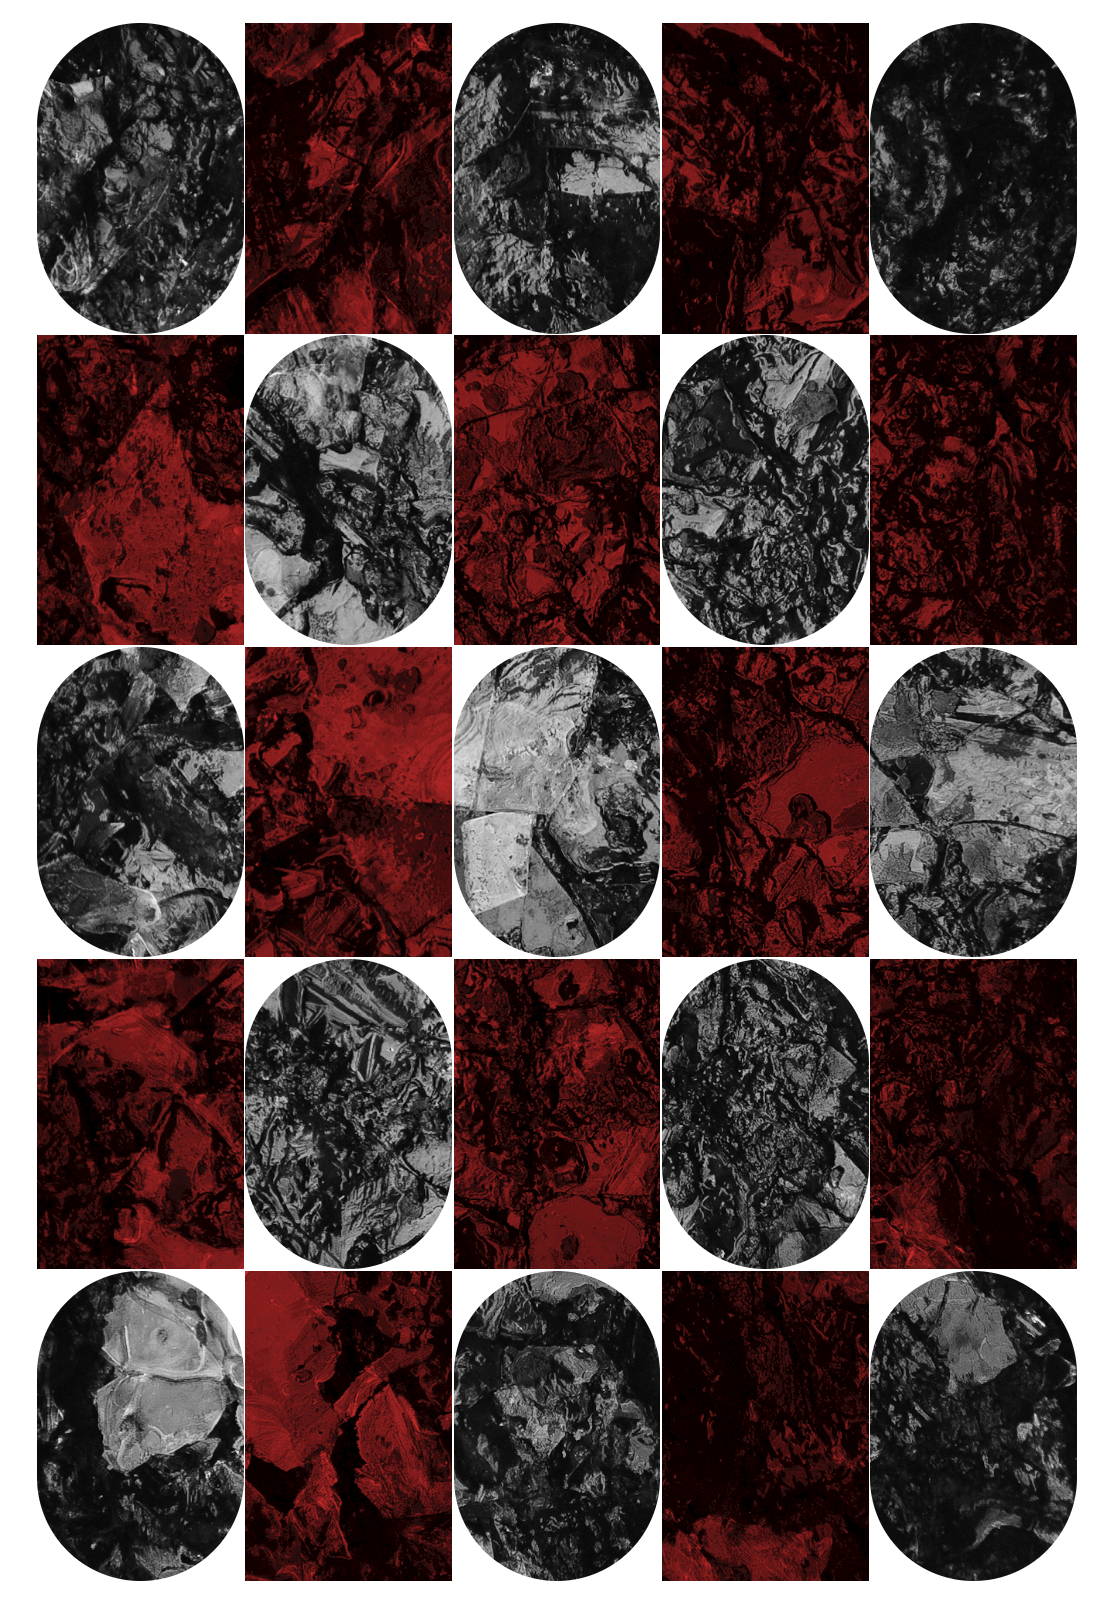
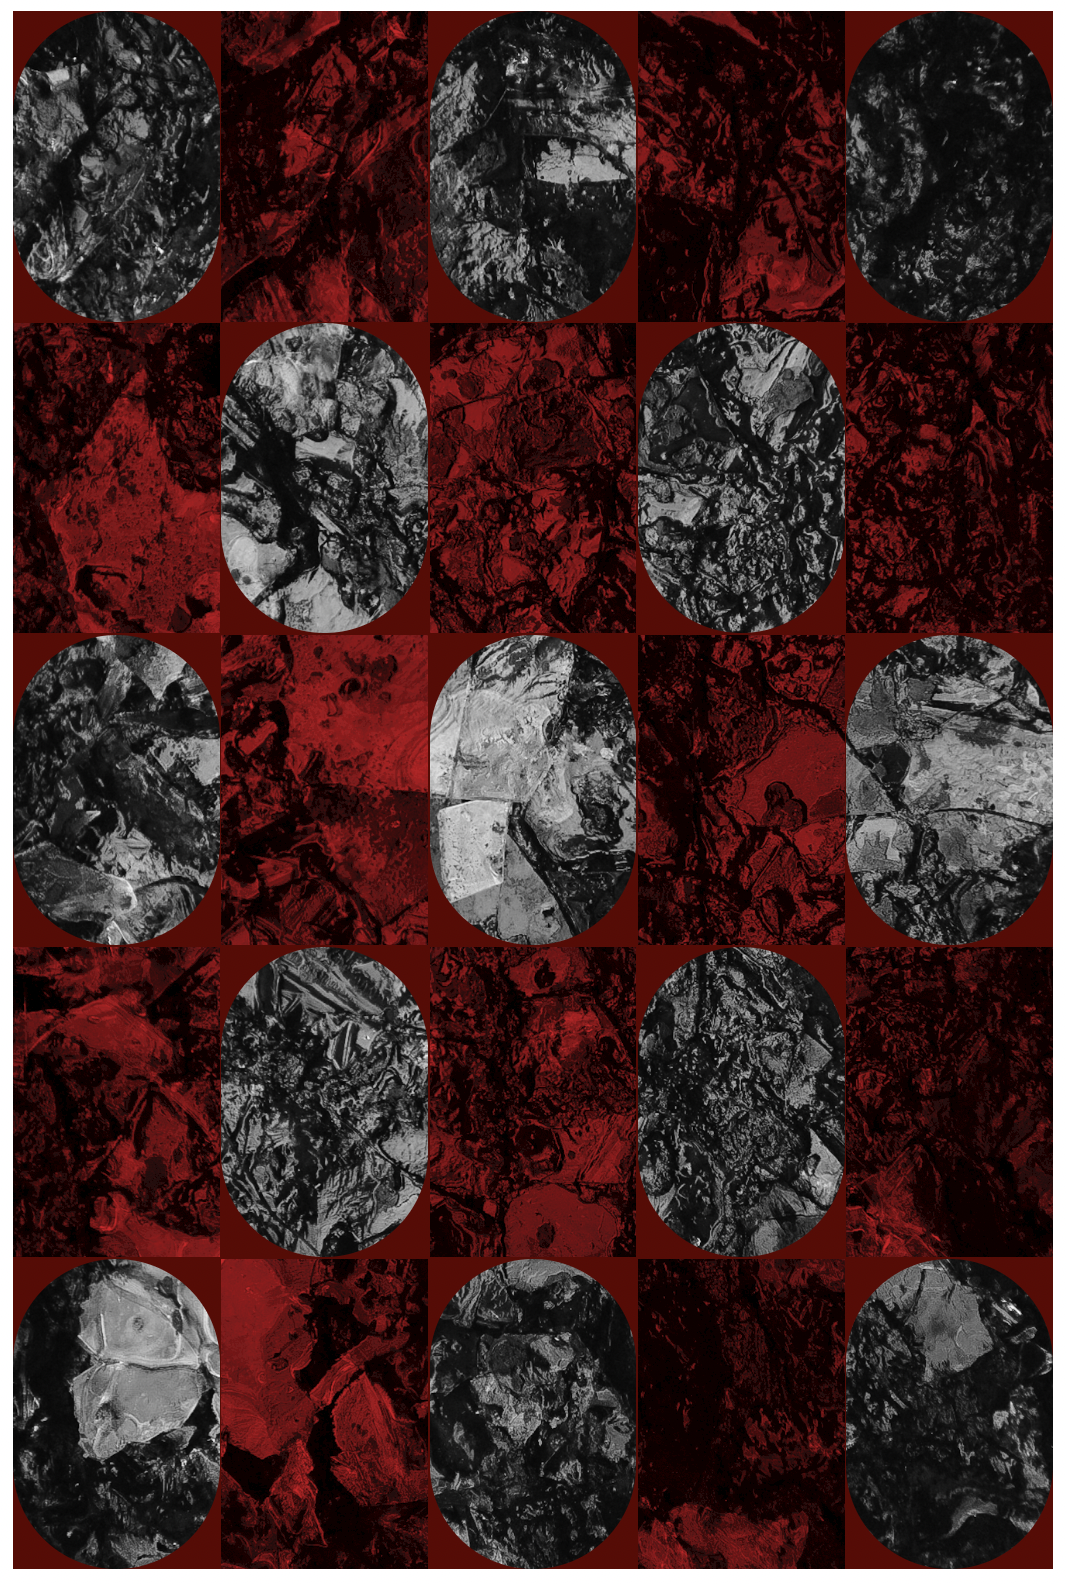
Something about this really caught my attention and I decided to rabbit hole further by dividing the image into 5 x 5 fragments rather than 2 x 2. In my mind, I wanted more of a subtle shifting of the colors fading out from the corners and knew I could do that using the divided image in the Gallery block. However, as I got started, I quickly realized that it wasn’t as compelling as I thought it would be in my head. Here’s a screenshot from one of the revisions:
At some point, I added red into the mix to switch up the duotone and see what direction I could go in. This led to a spat of various options as I got increasingly carried away:
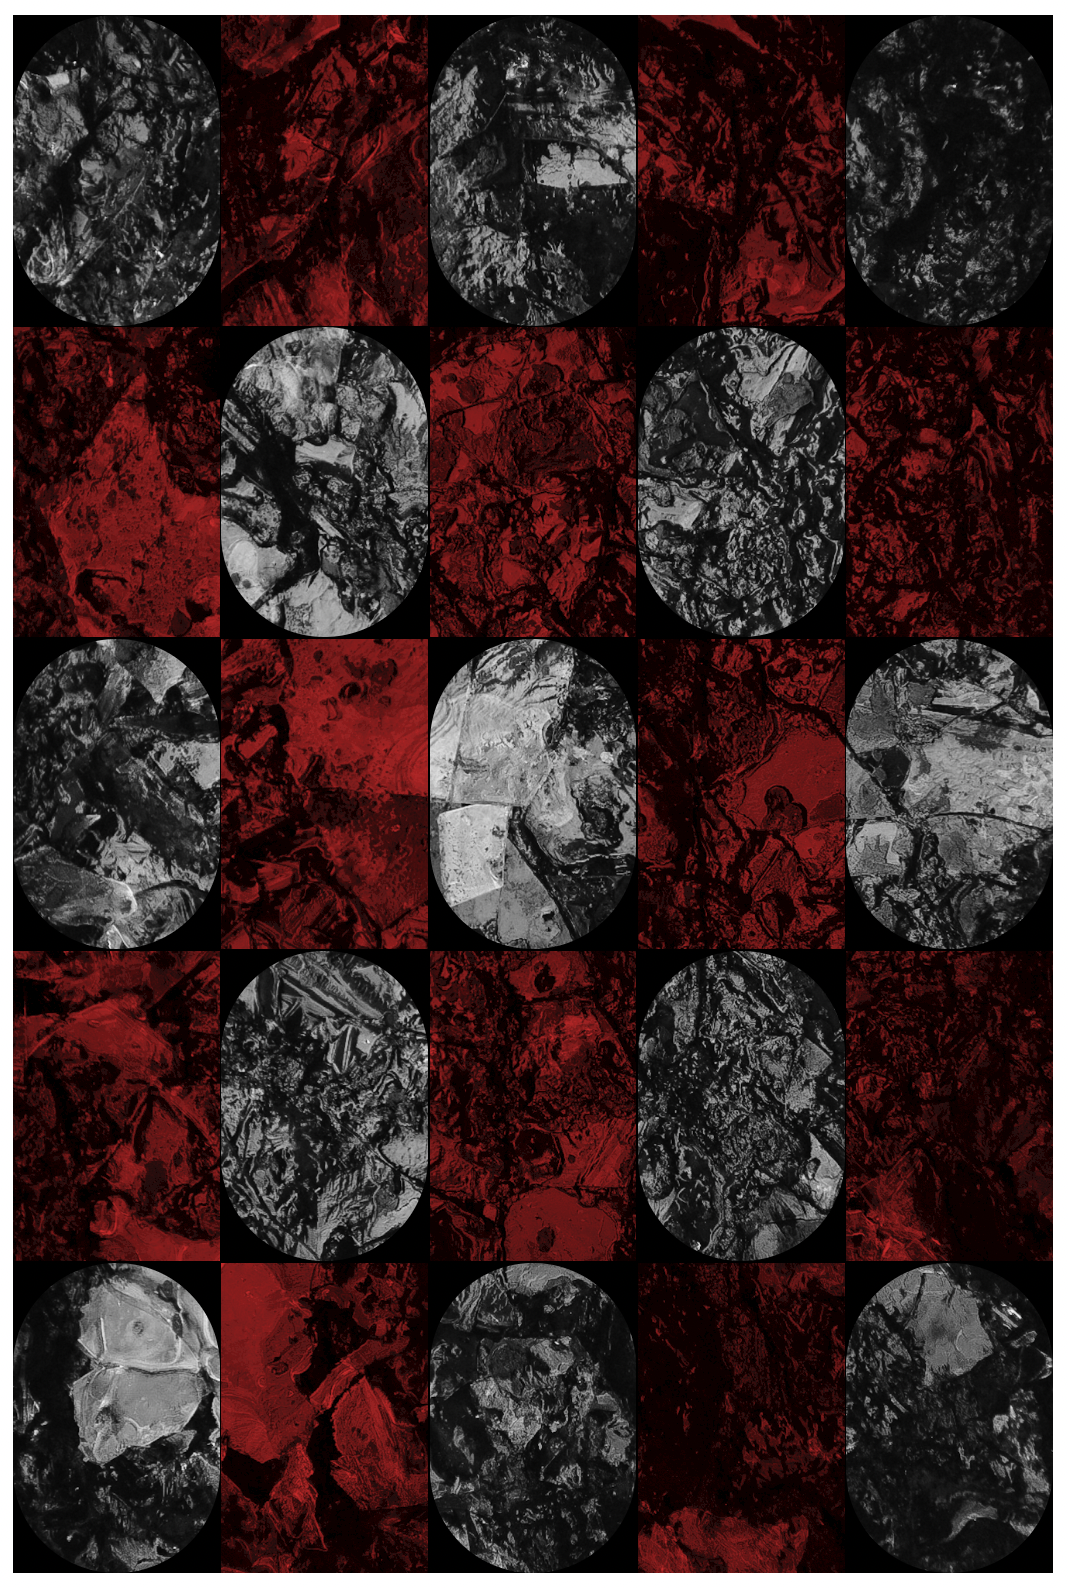
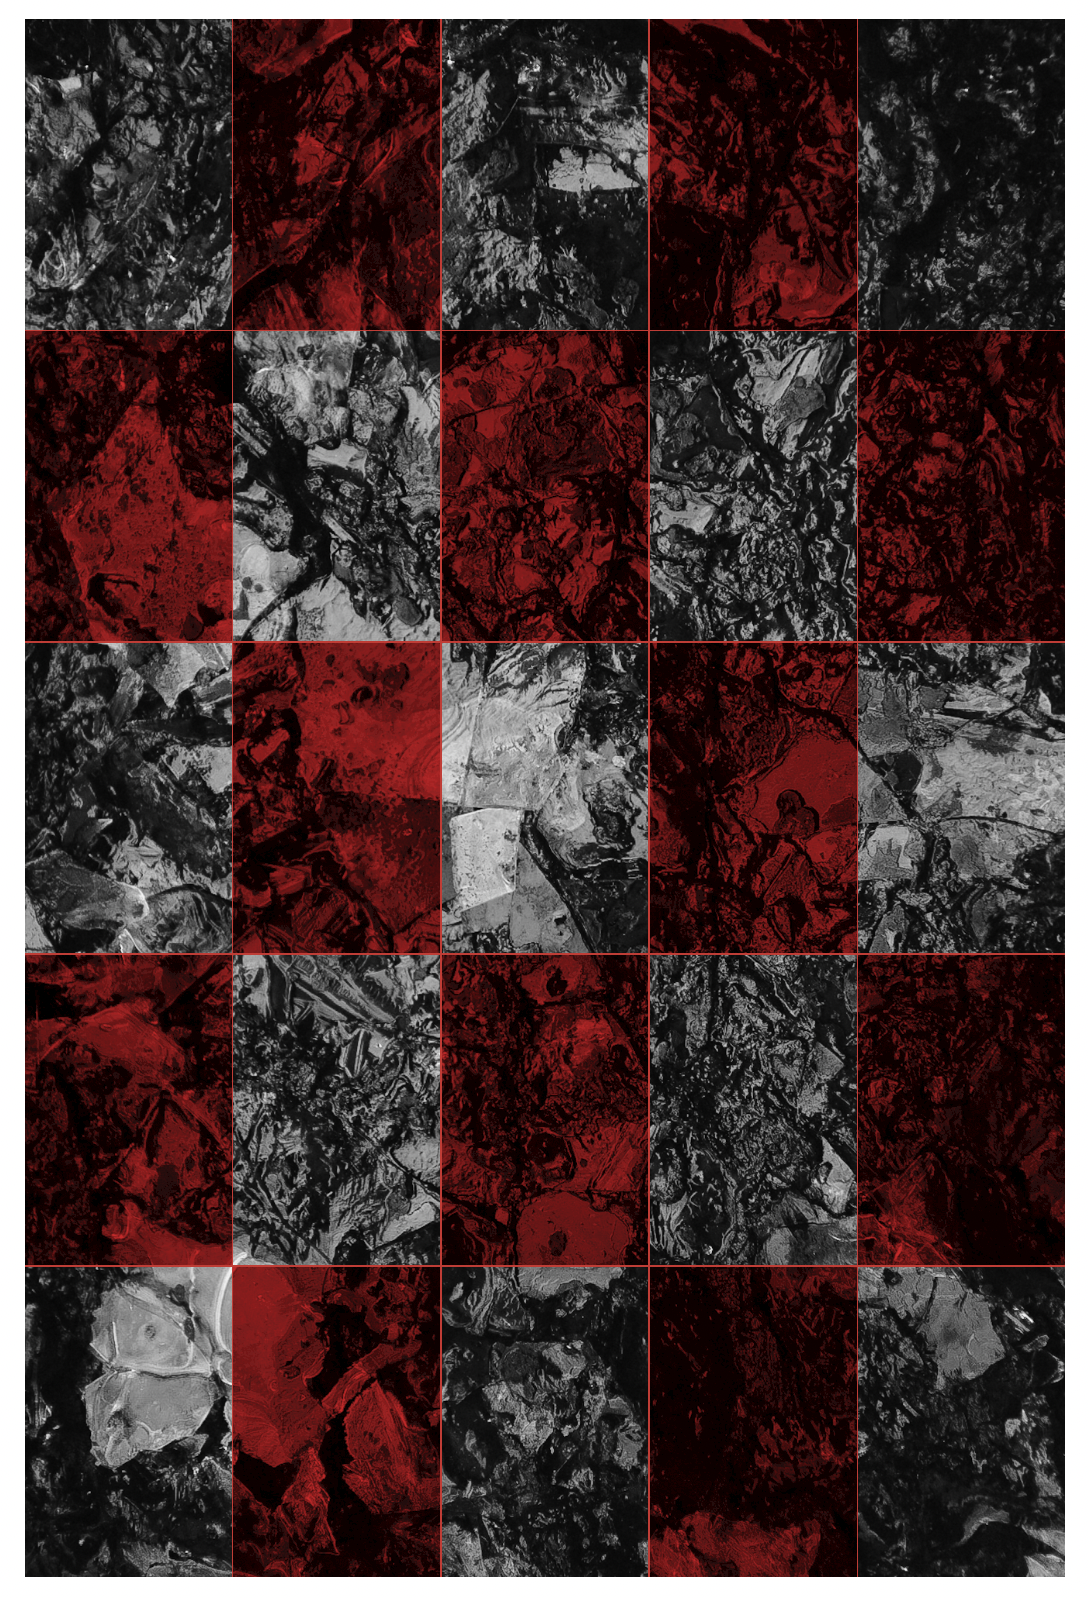
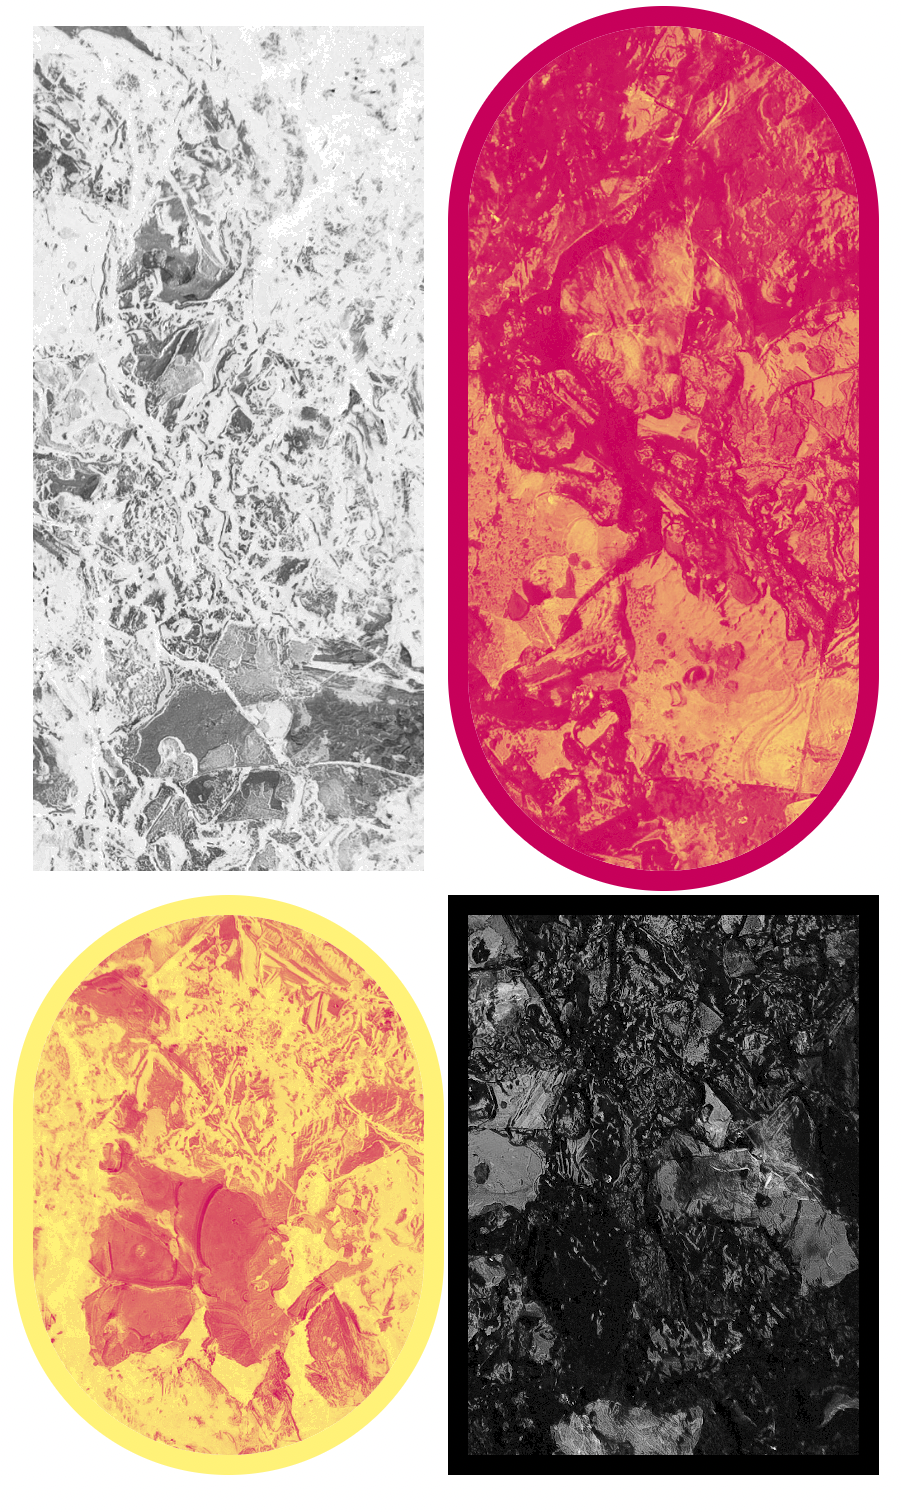
Usually, at this point, when I feel I’m onto something, I start furiously taking screenshots at various stages trusting that with the simplicity of the tooling and a handy undo button, I’ll be able to find my way back. To get a sense of how easy it is to quickly create each of these and explore different ideas, here’s yet another sped up video going through part of the creation process and loosely each version. I realized after recording that I got the square pattern wrong but you get the idea:
I then sent those four images to a few folks to see what resonated and went with one.
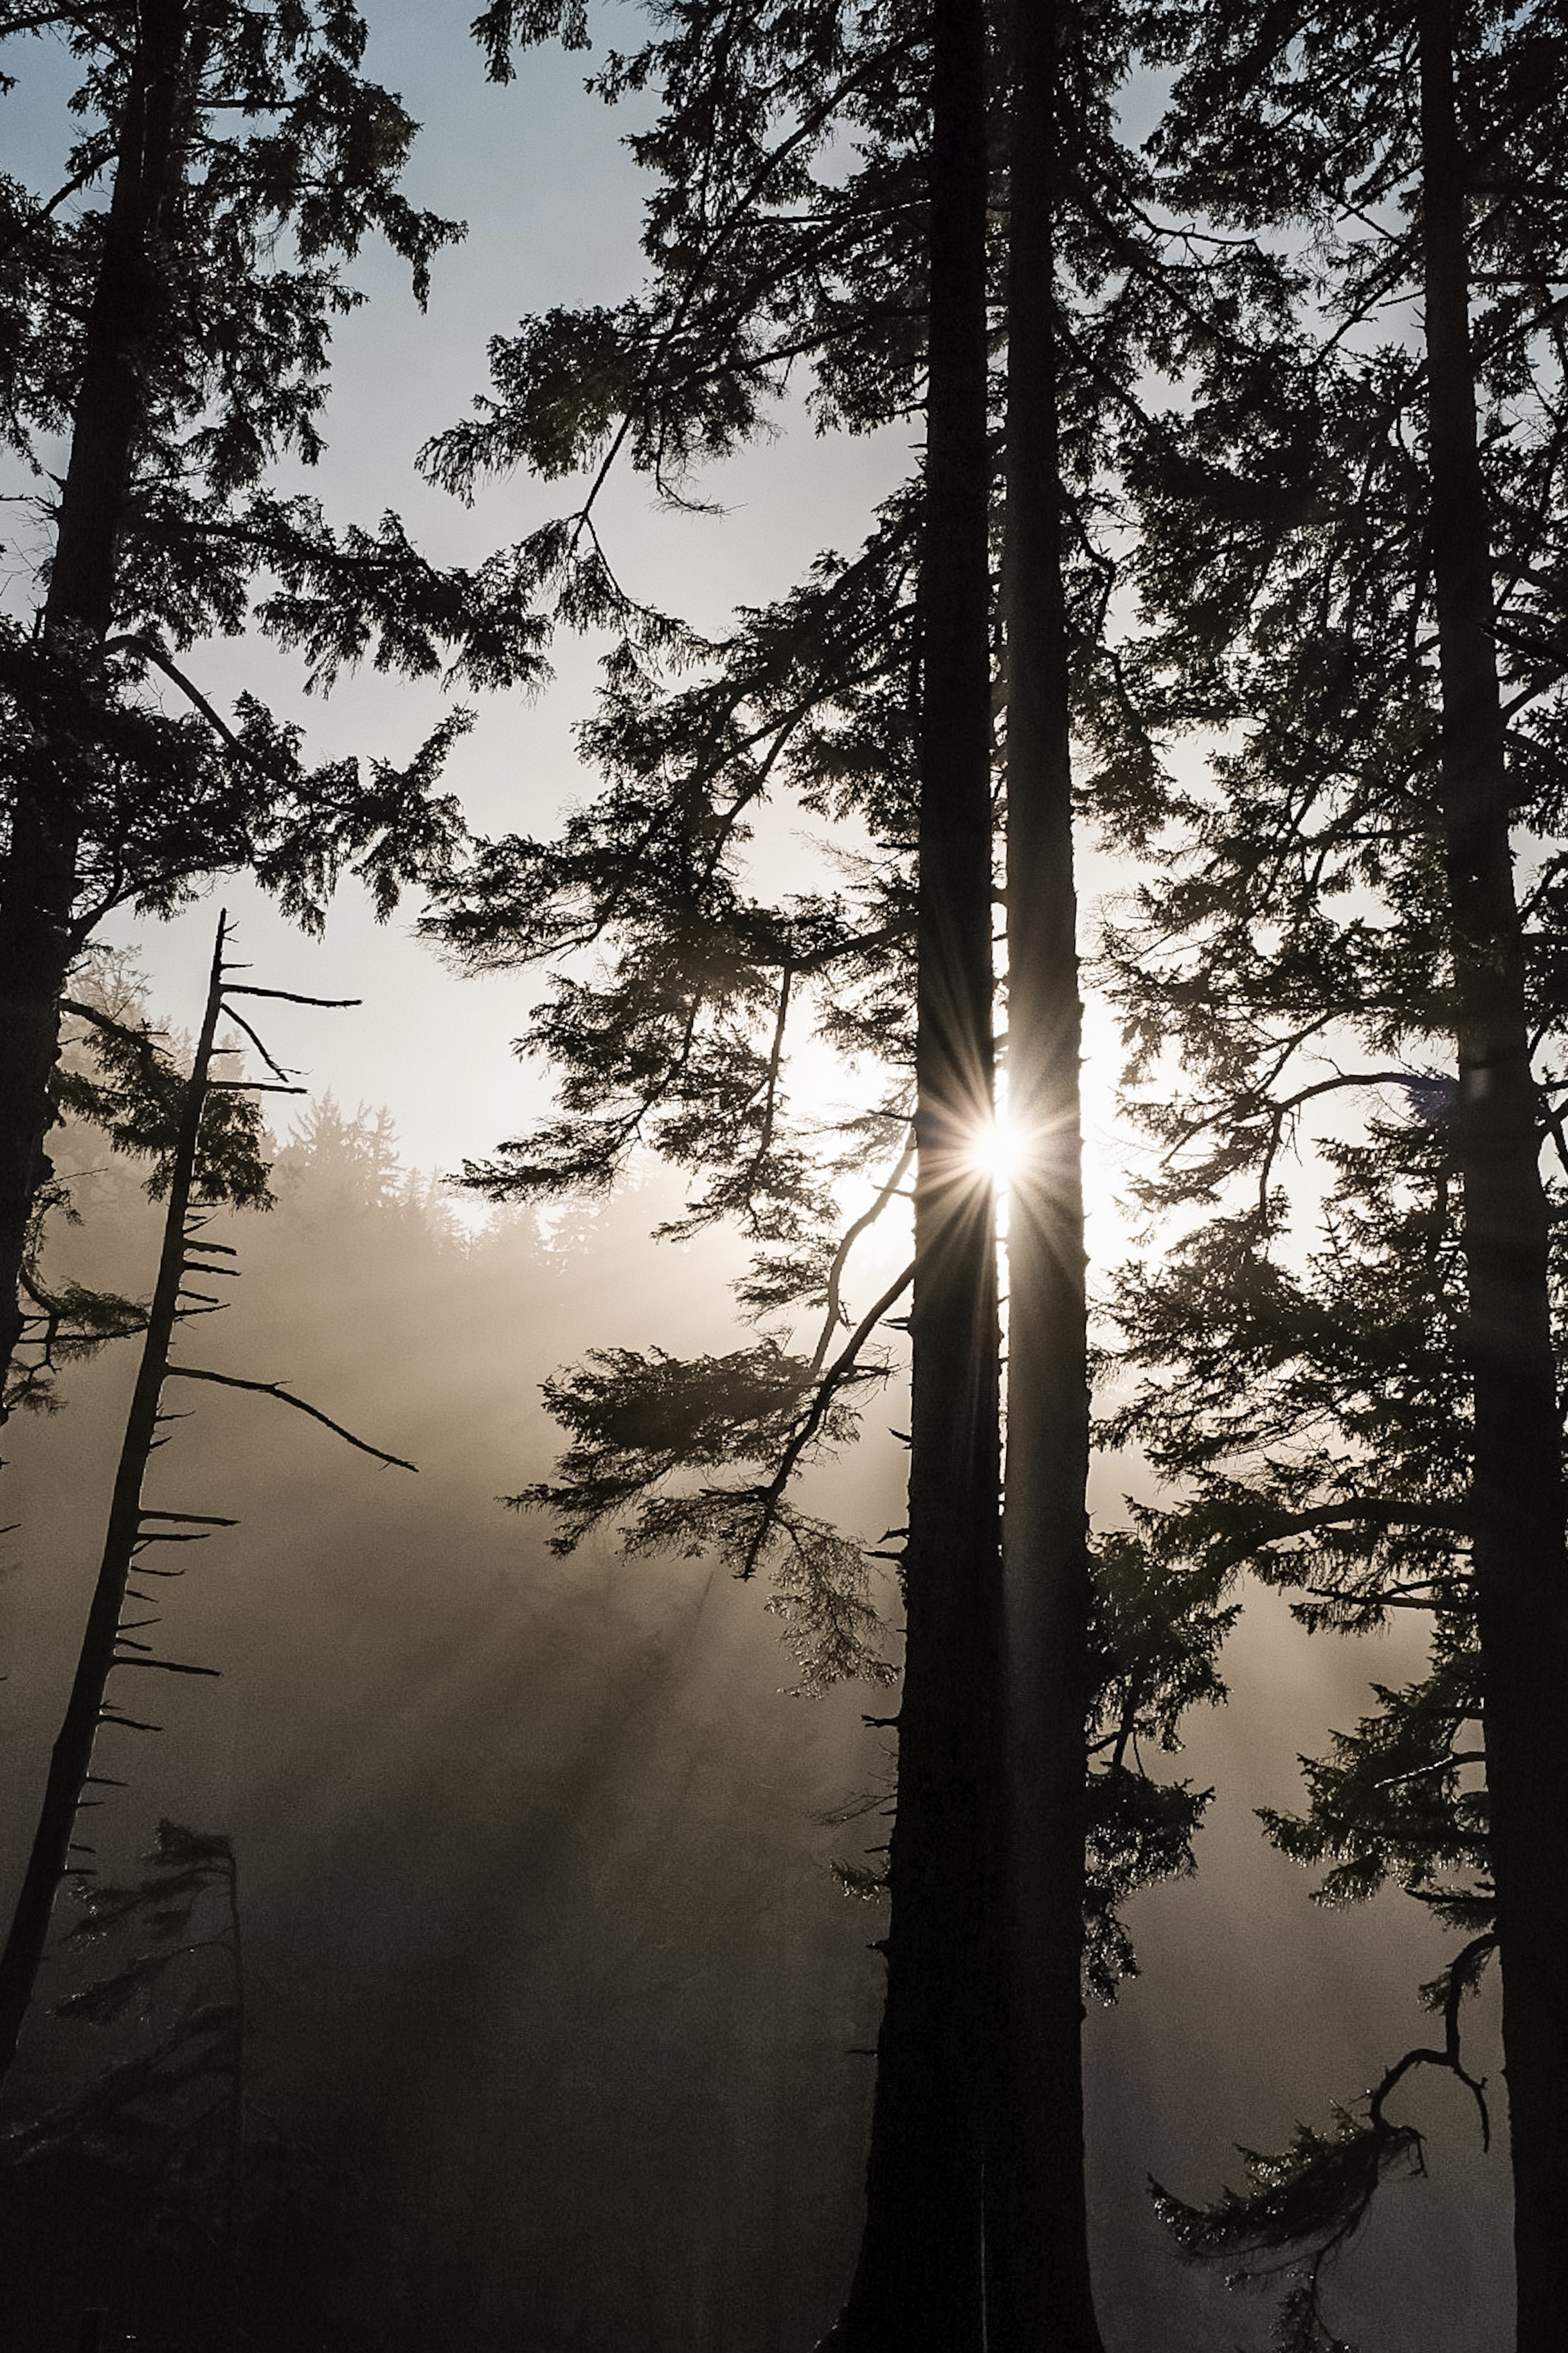
Behind the scenes of creating the piece, “Shining Through”
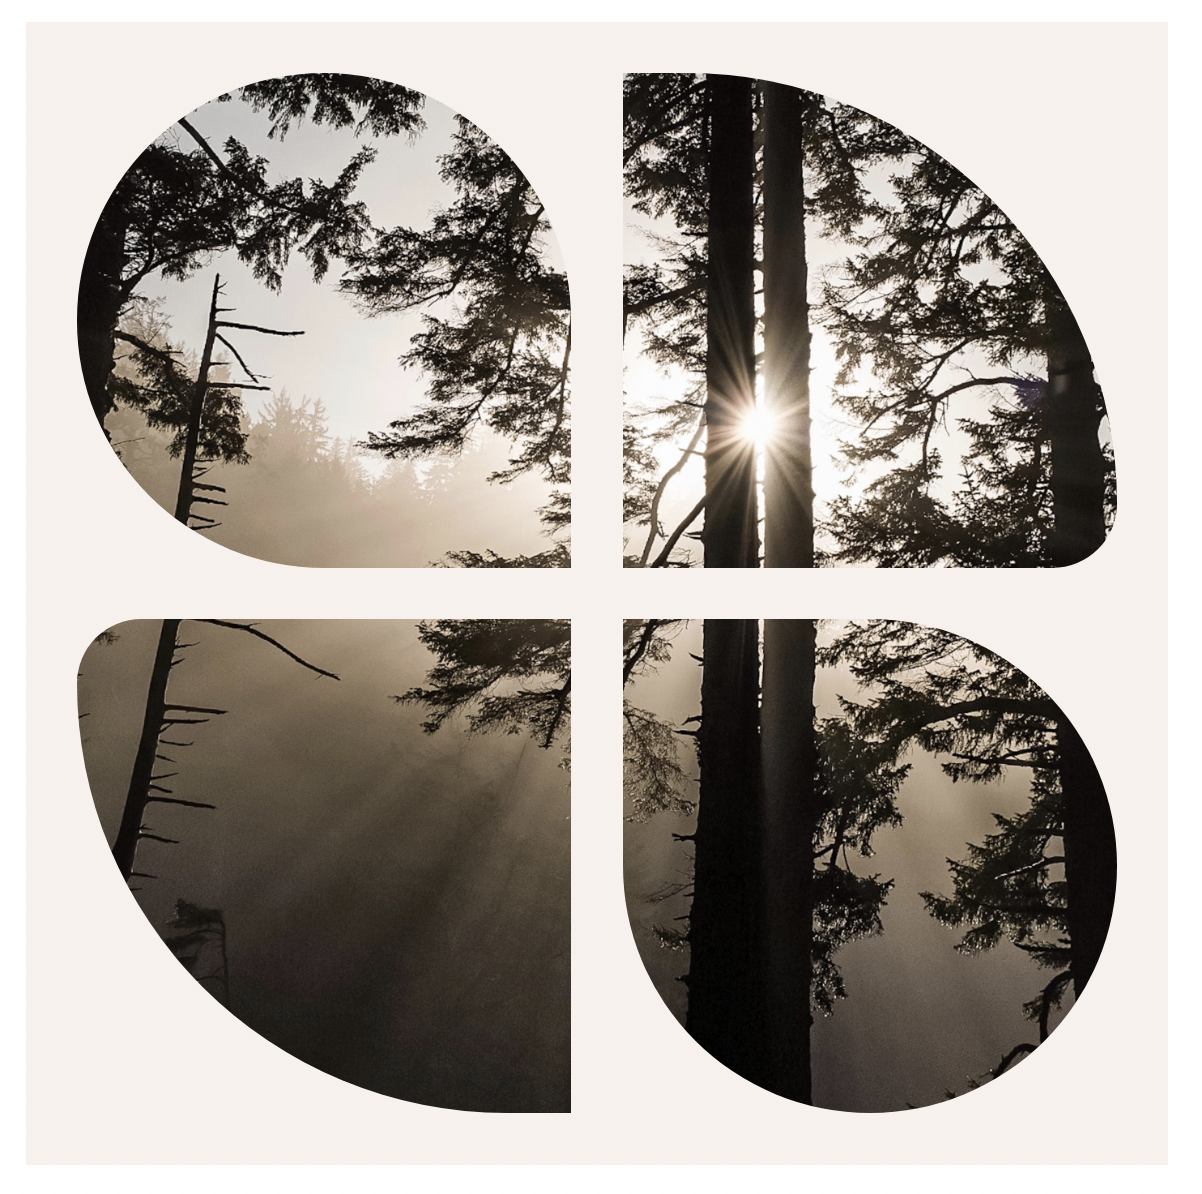
I was so inspired and into splitting images apart that I wanted to try once more to create another piece that actually felt more coherent. I used an image I shot from a trip to the coast of Oregon with beautiful light shining through the trees (hence the name):
It was picked almost at a whim but I knew I could likely do something clever with the source of the beam of light if I divided the image properly. With the experience of the last piece behind me, this one moved a bit faster with my tweaks being fairly minor in terms of block spacing and radius controls. Here are the options I found myself screenshotting:
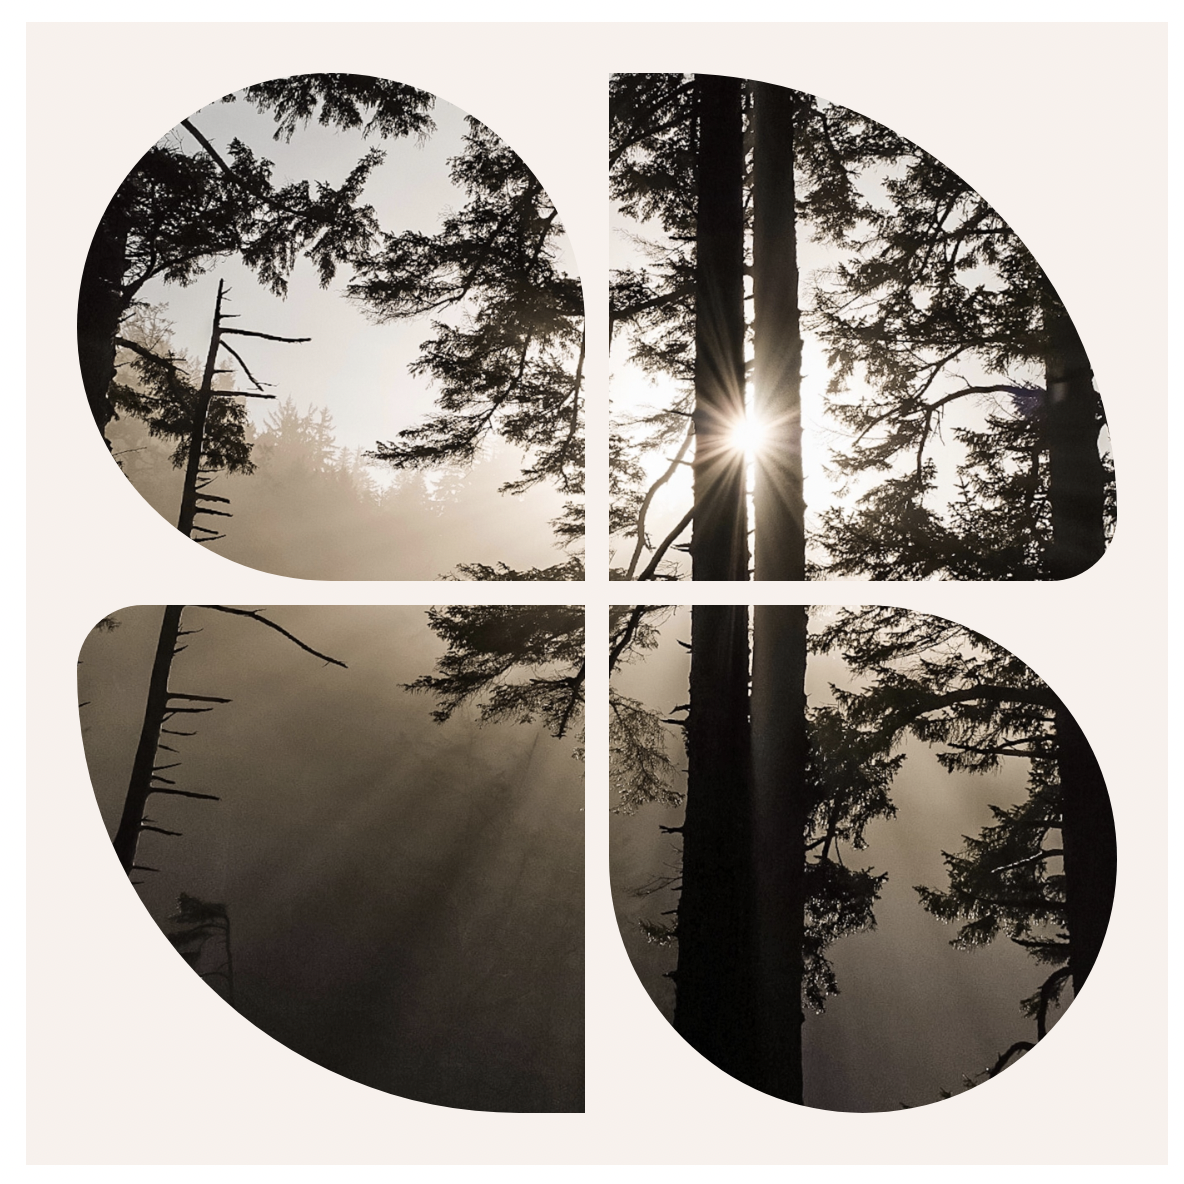
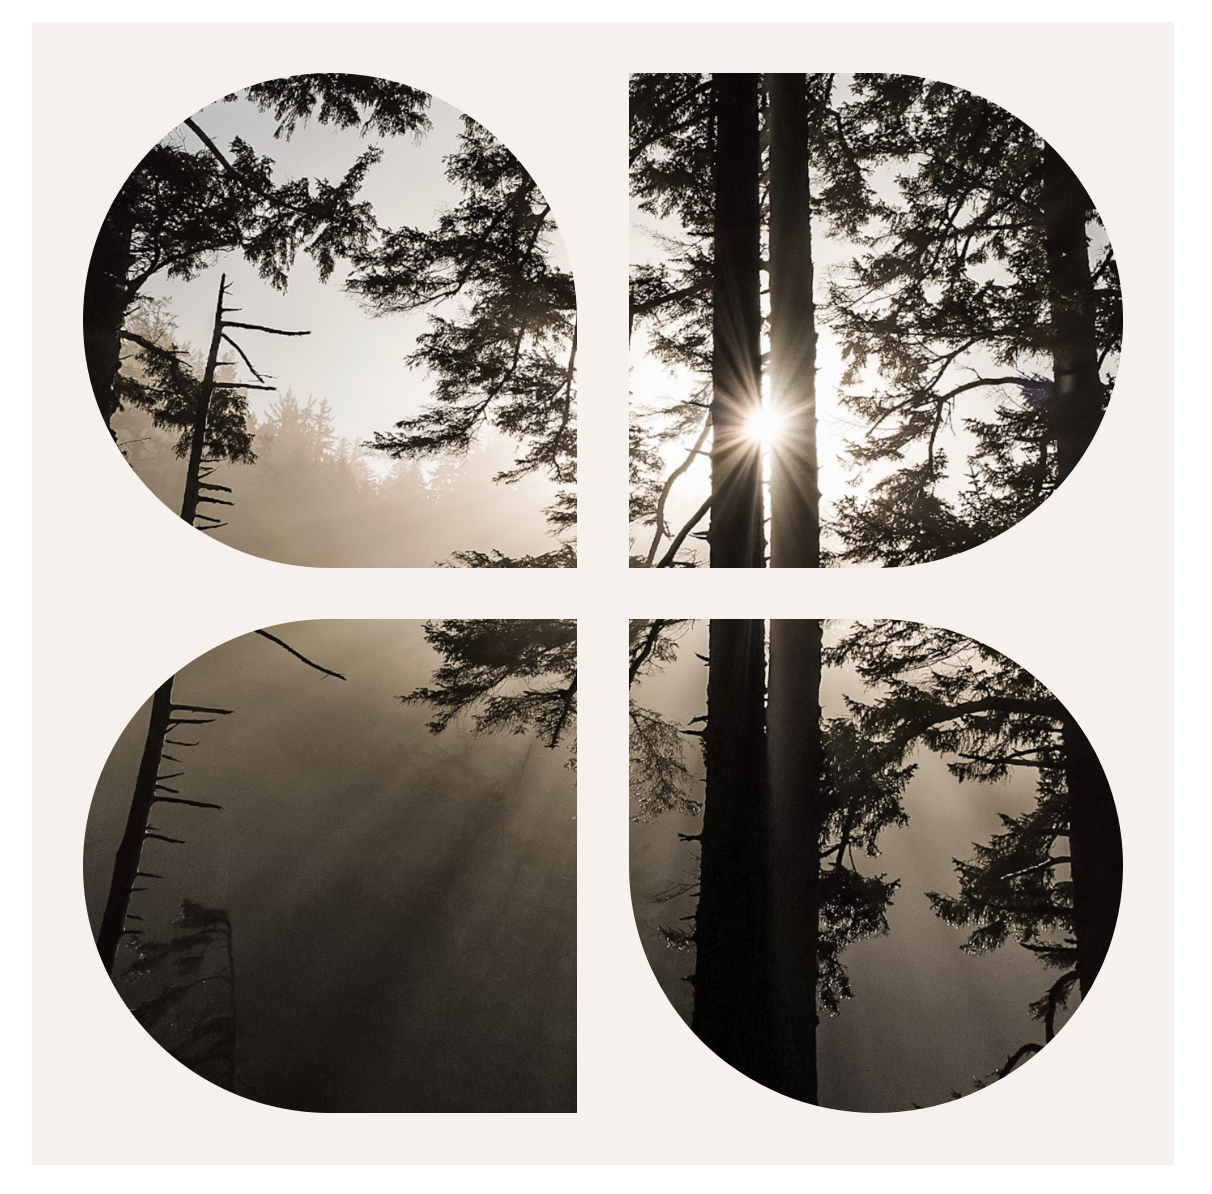
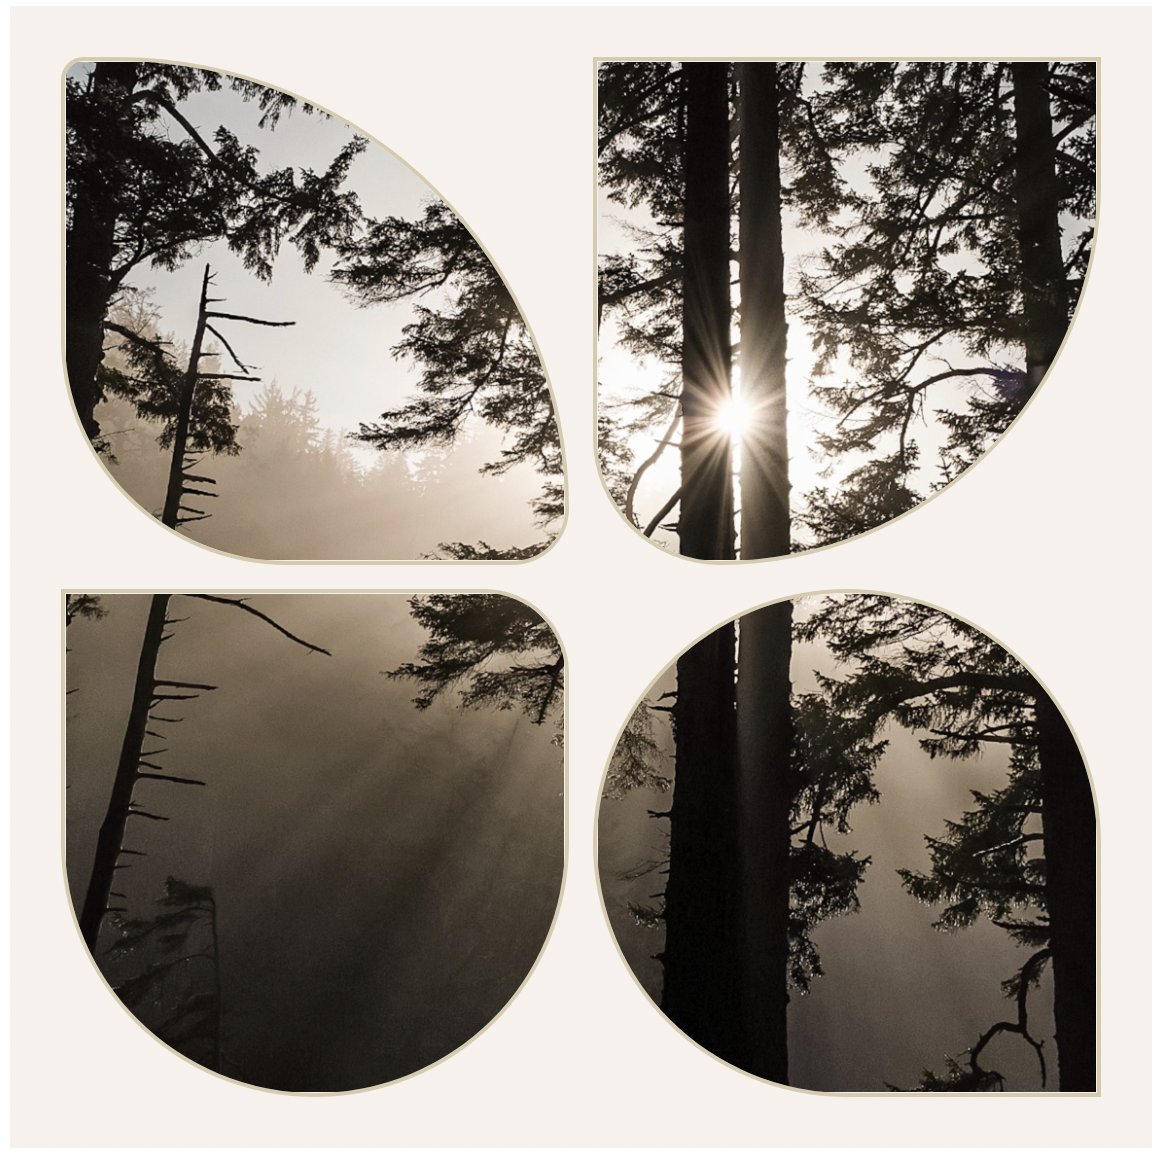
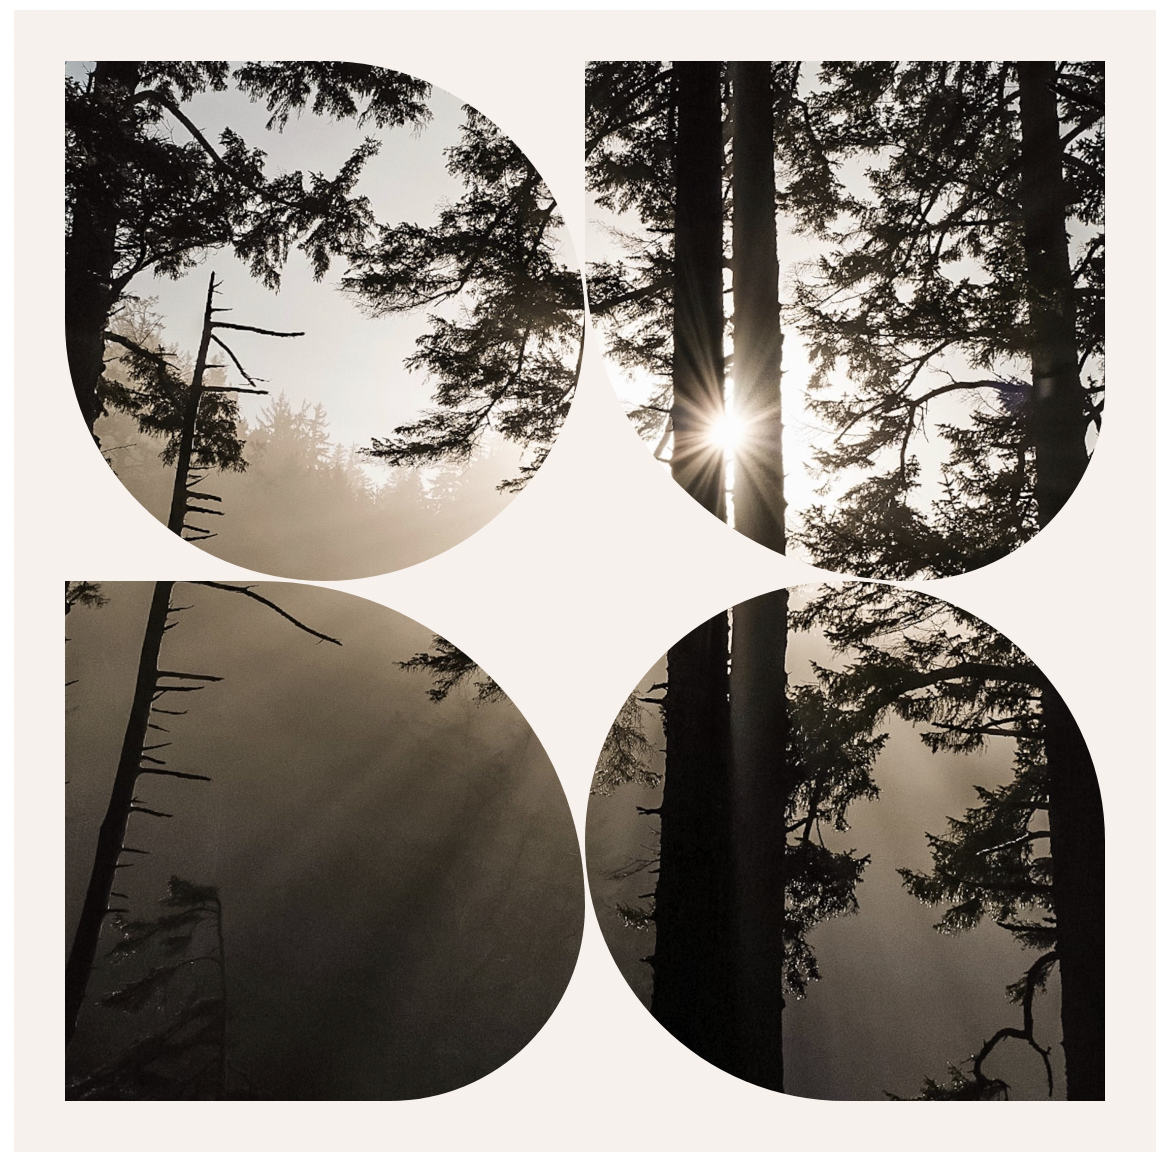
I dabbled in adding borders but decided it didn’t add much. I eventually appreciated the rounded edges of each section contrasting with the sharp lines in the middle. I was torn on mirroring each side and thought about going to the extreme with each image looking radically different. However, I liked the balance of the final option and don’t ever love a collage look — You both could appreciate the individual pieces and see the whole of the image at once. Here’s a video once more showing the streamlined creation process for the final result:
To switch it up ever so slightly, I last minute decided to add a black and white duotone filter to the beam of light.
If you’re finding yourself inspired and in a state of “Oh I can definitely do that too”, please consider this your official nudge to submit your very own art pieces. I’ve never considered myself a terribly artsy person, despite my deep appreciation for art but, yet again, WordPress opens doors for me to contribute. I hope it does the same for you!

Leave a comment